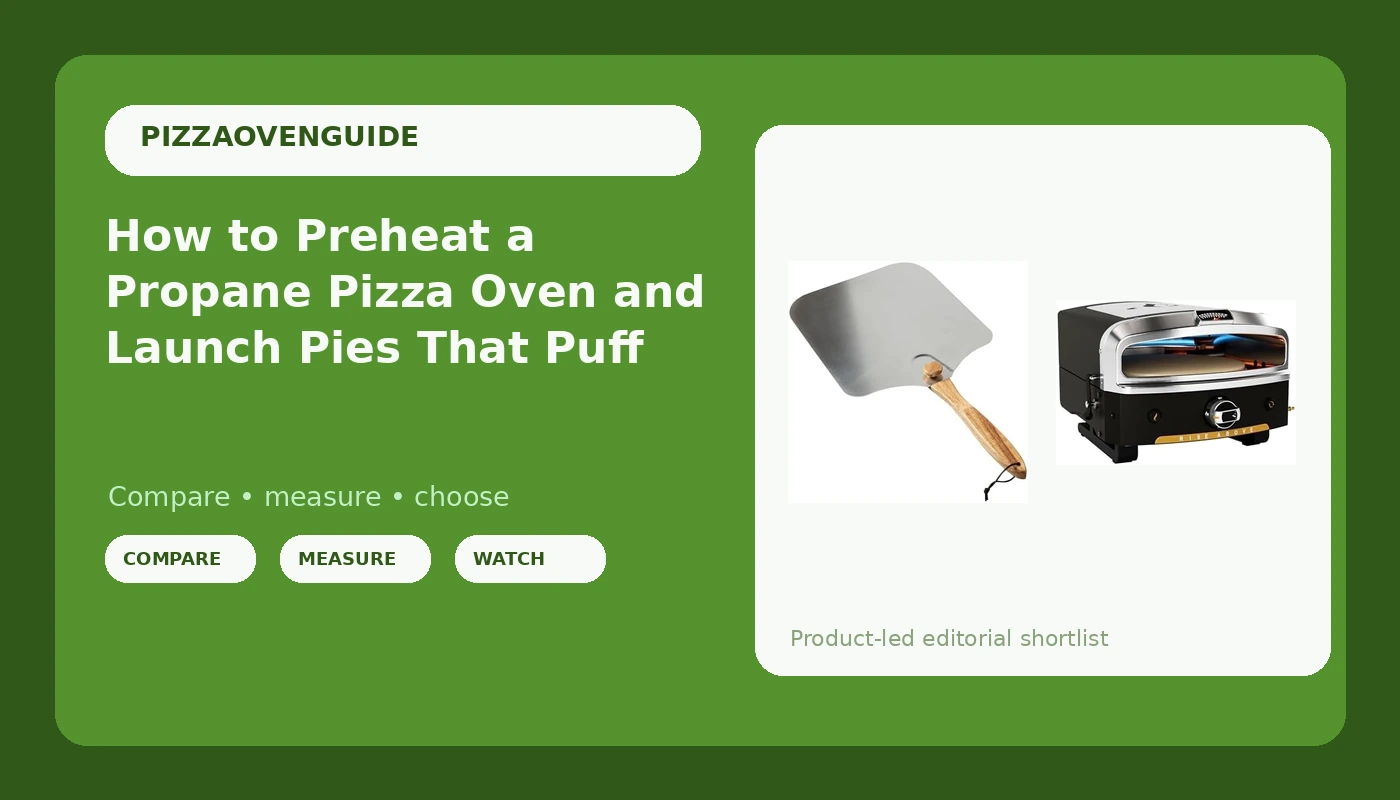
Most people who buy a propane pizza oven cook their first pie at 550F, pull out something pale and leathery, and blame the dough. The dough is fine. The oven was run cold. A propane pizza oven is a heat machine, and the machine has exactly one job: hold a stone hot enough to puff a rim and spot the crust in 90 seconds to 2 minutes. The dough, the sauce, the cheese, all of it is just there to not get in the way of that heat.
I spent five years working the oven at a Neapolitan pizzeria before I switched to writing about food, and I have run eight ovens in my own backyard since, from a countertop box that cost less than a dinner out to a dome that cost more than my first car. The pattern never changes. The oven gets unboxed, it gets preheated for ten minutes, and it gets run at whatever number the dial shows instead of what the stone actually reads. This guide fixes that, and it ends at the second pie, which is the one that tells you what you bought.
Why you should trust me
I judge every pie with the same scorecard: char, leoparding, rim rise, bottom crisp. I keep the photos. I cook the same two dough recipes in every oven so the results compare, and I will not make a temperature claim without an infrared thermometer reading to back it up. That last rule matters more than it sounds, because the most common lie in this category is a box that promises 900F and a stone that tops out at 650F.
I also do not review an oven until I have cooked at least eight pies in it. The first pie in any new oven is bad. That is not a defect, it is a law of the universe. Plan for it.
What you need before the first pie
Two pieces of gear cover almost everything: the oven and a peel. Half the accessories sold in this category are solutions to problems you do not have yet. An infrared thermometer is the third thing, and it is not optional, because you cannot dial in a stone you cannot read.
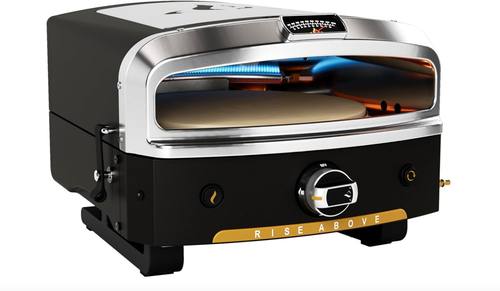
Our pick: HALO Versa 16 Pizza Oven | 16” Rotating Stone, Patented Dual Burner System, 5-Minute Pizzas, Easy Clean | Propane Powered | HZ-1004-ANA
 Visit on Amazon →
The spec that matters here is the 16-inch stone, because a 16-inch stone means a 12-inch pie has room to breathe and you are not launching into a wall of flame. The rotating stone is the feature that changes your workflow. Instead of standing at the mouth turning the pie every 25 seconds, the stone carries the pie past the heat for you, which is how you get even leoparding on all sides instead of one scorched quadrant and one pale one.
The dual burner system is the part the brand hangs its hat on, and propane is the fuel. That combination is why this oven belongs in the Tuesday night conversation and not only the Saturday ritual. Gas gives you repeatable heat on a schedule. You open the valve, you wait, you cook. Nobody wants to light a fire at 7pm on a Tuesday.
One caveat on the five-minute pizza claim on the box. Five minutes is a bake time, not a promise, and it assumes a fully preheated stone and a dough that is not refrigerator-cold. Run this oven cold and you will get a five-minute pizza that eats like a fifteen-minute one. Check current Amazon price.
Flaws but not dealbreakers: Propane means you are managing a tank, and a tank that runs dry mid-bake is a special kind of heartbreak. Keep a spare and weigh it before a dinner party.
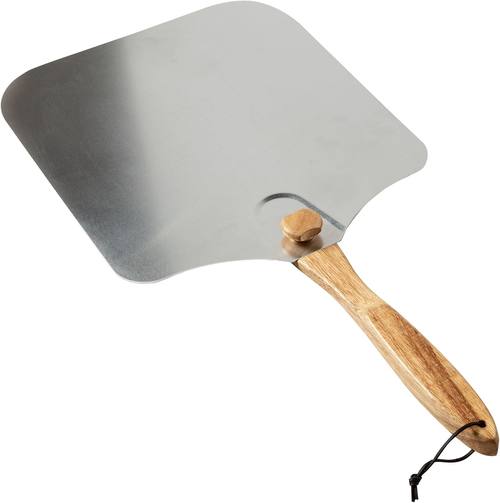
The peel: Old Stone Pizza Kitchen Aluminum Pizza Peel with Collapsible Wooden Handle, 14x16-Inch
 Visit on Amazon →
A peel is the one accessory that pays for itself on the first night, and it is also the one people skip because they think a sheet pan will do. A sheet pan will not do. A 14x16-inch aluminum head gives you surface for a 12-inch pie plus margin for the flour and semolina you are using as a release agent. Aluminum is light, which matters when your arm is extended over a hot stone and you are trying to place a pie instead of dropping it.
The collapsible wooden handle is the detail I appreciate most, because it means the peel stores in a drawer or a tote instead of living permanently on a hook in the garage. If you cook at a friend's house or a tailgate, it travels.
Flaws but not dealbreakers: An aluminum head heats up fast if you leave it sitting near the oven mouth while you top a second pie. Set it down away from the heat, or the dough will start setting before it ever hits the stone. Check current Amazon price.
How to preheat a propane pizza oven properly
This is where most pies are lost. Preheat is not a suggestion.
Step one: Place the oven correctly. Outdoors, on a stable, non-combustible surface, with clearance from walls, railings, and anything with a roof overhang. Follow the manufacturer's clearance numbers, not mine. Wind is the enemy of a propane oven: a steady breeze across the mouth pulls heat out of the stone faster than the burner can put it back in. If you can, set up so the wind hits the back of the oven, not the mouth.
Step two: Give it time, not a glance. A propane oven does not need the 45 minutes a home oven needs, but it does need more than the ten minutes most people give it. The metal comes up fast. The stone is slow. The stone is your thermal mass, and the stone is what bakes the bottom of the pie, so the stone sets your schedule.
Step three: Read the stone, not the dial. This is the step that separates a good pie from a bad one. Point an infrared thermometer at the center of the stone. Then point it at the left and right edges, because most ovens have a hot side. You are looking for a stone temp that gives you a fast bake: hot enough that the rim puffs and spots in about 90 seconds, not so hot that the bottom burns before the top sets. If the edges read far hotter than the center, you know which way to aim your launch.
Remember that temperature range is the spec that matters. A 12-inch oven that hits 900F beats a 16-inch oven that struggles past 700F, and the thermometer is how you find out which one you actually own. The dial is a suggestion. The stone is the truth.
Step four: Let it recover between pies. The stone gives up heat to every pie you launch, and after pie one the reading will drop. Wait for it to climb back before pie two. This is the single most common reason a second pizza comes out worse than the first, and it is entirely avoidable.
How to shape, top, and launch
The dough. Two recipes, made ten times each, will teach you more than any oven upgrade. A 48-hour cold ferment beats almost any gear you can buy. Aim for a hydration you can actually handle, somewhere in the 60 to 65 percent range for a home oven, and weigh your dough balls so they are consistent. Consistency is what makes your results comparable from one night to the next.
Shaping. Press from the center outward and leave the outer inch alone. That outer inch is your rim rise. Roll it flat with a pin and you have removed the thing you bought the oven for.
The peel. Dust the peel with a 50/50 blend of semolina and 00 flour. Semolina is the ball bearings; the flour absorbs a little surface moisture. Build the pie on the peel, not on the counter. Then run the shake test: slide the peel forward and back a couple of inches. If the dough moves, you are ready. If it does not, lift an edge and throw more semolina under it. Launching a stuck pie is how you end up with a calzone.
The launch. Open the oven, put the head of the peel at the back of the stone, and pull the peel back toward you with a slight downward tilt. The pie stays put. Do not shove it.
The bake. With a rotating stone, you let the oven do the turning. Watch the rim rise and the leoparding develop through the mouth. If the top colors faster than the bottom, the stone is too cool. If the bottom goes before the rim puffs, the stone is too hot. Both are thermometer problems, not dough problems.
The rest. One minute on a rack, not a plate. A plate traps steam and softens the bottom crisp you just spent all that heat building.
What goes wrong on the first pie
- Pale, leathery bottom. Stone temp too low, or not enough preheat. Read the stone before you blame the dough.
- Burnt bottom, raw top. Stone too hot. Let it come down, or launch with the flame lower.
- Pie stuck to the peel. Not enough semolina, or you built the pie on the peel and then stood around talking. Top fast and launch.
- Torn center. Dough too cold or too wet to stretch. Let the ball come to room temperature and use your fingertips, not your palms.
- Char that tastes like ash. That is burnt, not charred. Char is a spot on a puffed rim. Ash is a black patch on a flat one.
What this costs
The oven is the line item. The peel is the cheapest piece of the kit and the one that saves the most pies, which is a strange thing to say about a piece of aluminum with a handle, but it is true. An infrared thermometer costs less than a single delivery order and it is the difference between guessing and knowing.
The rest of the accessory aisle can wait. A cover, a turning tool, a fancy cutter, a second thermometer, none of it will make your second pie better. Dough you have made ten times and a stone at the right temperature will.
The short version
Preheat longer than you think. Read the stone with an infrared thermometer instead of trusting the dial. Build the pie on a floured peel, shake it, launch it, and let the stone turn it for you. Wait for the stone to recover between pies. The first pie in a new oven will be bad. The second one tells you what you bought.
That is the whole job. The oven is a heat machine. Feed it, read it, and stay out of its way.