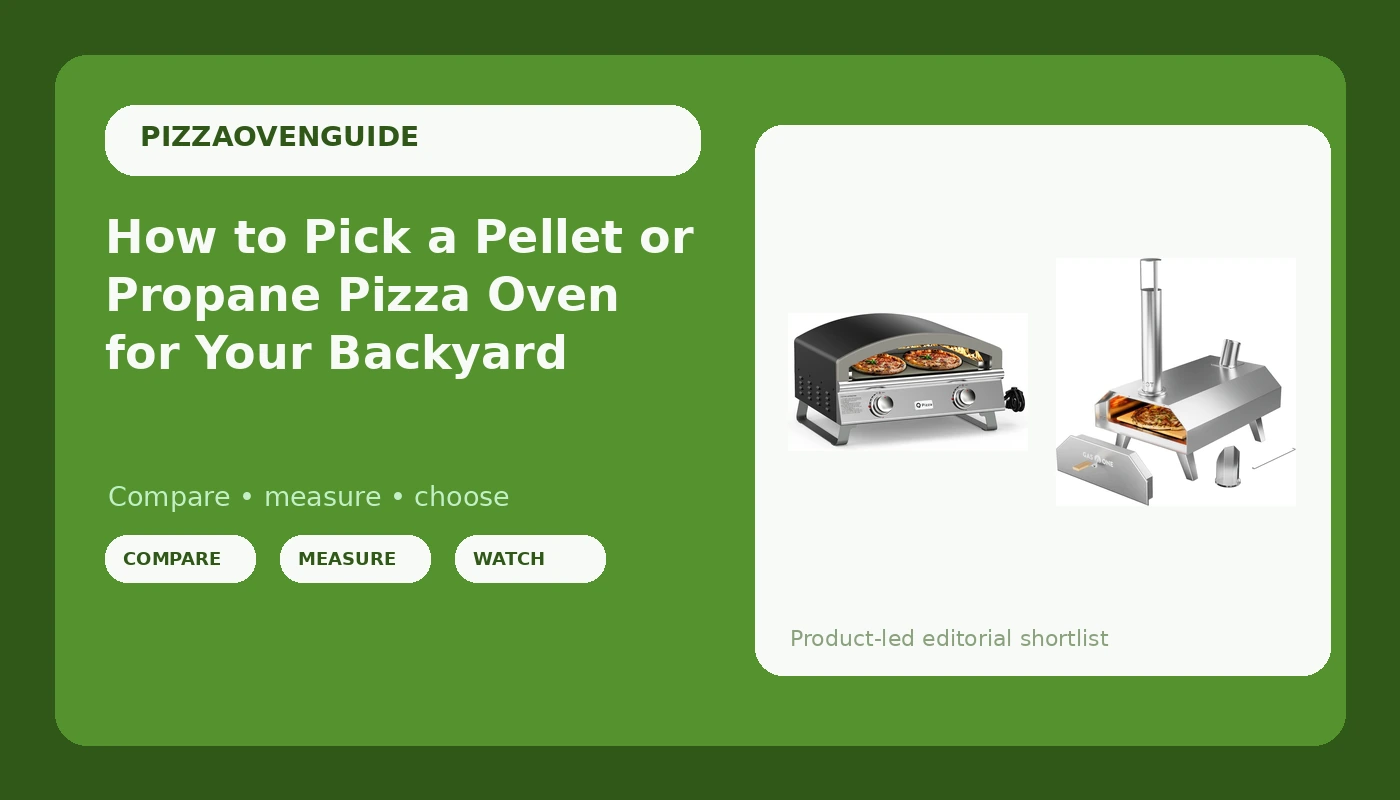
Most people shopping for a first backyard pizza oven stall at the same fork in the road: pellet vs propane pizza oven. One burns hardwood pellets you feed by hand and smells like a campfire. The other hooks to a tank and starts with a knob. Both can make great pizza. Neither is the wrong answer, but only one of them is right for the night you actually cook on.
I worked the oven at a Neapolitan pizzeria for five years before I started writing about this stuff, and the thing that took me longest to unlearn was brand loyalty. A pizza oven is a heat machine. The dough, the sauce, the cheese, they are all just there to not get in its way. If the floor of the oven will not hold heat, no amount of fancy tomatoes will save the pie.
Here is the other thing nobody tells you: the first pizza you make in a new oven will be bad. Plan for it. The second one tells you what you bought. So this is not a spec sheet reading. It is how to decide between a pellet oven and a propane oven, and then how to run whichever one you bring home so pie number two is the one you brag about.
Why you should trust me
I spent five years working the oven at a Neapolitan pizzeria before I switched to food writing, and I have tested eight pizza ovens in the three years since, everything from a cheap countertop box to a wood-fired dome. Every oven gets the same treatment in my yard: at least eight pies, two fixed dough recipes, and a stone temp reading before every launch.
I score each pie on a crust scorecard I keep in a spreadsheet: char, leoparding, rim rise, bottom crisp. I keep the photos, which is how I know that most of what people call oven problems are actually dough problems. I do not publish a temperature claim without an infrared thermometer reading behind it, and if an oven shows up as a loaner, I say so. The two ovens below are the ones I would point a friend toward at each end of the budget, and I will tell you exactly where each one gets annoying.
How I picked and how I tested
I ran the same two doughs through both ovens: a 62% hydration dough with a 48-hour cold ferment, and a same-day 60% dough for the nights I forgot to plan. Same flour, same cheese, same sauce. Nothing about the recipe changed between ovens, which is the only way to compare heat machines honestly.
What I measured: stone temp at launch, stone temp before pie two, recovery time between pies, and floor temp at the left and right edge versus the center. What I looked for: leoparding on the rim, an even bottom bake, and whether the second pie came out better or worse than the first.
A 12-inch oven that hits 900F beats a 16-inch oven that struggles past 700F. Temperature range is the spec that matters, more than floor size, more than the name on the front. So when I compare a pellet oven to a propane oven, I am asking two questions: how hot does the floor actually get, and how fast does it come back after a pie.
The two ovens I would actually start with
These sit at opposite ends of the decision. One is small, portable, and burns pellets. The other is a big two-burner propane unit built for a crowd. Both are real ovens, and both will make pizza that beats anything a kitchen range can do.
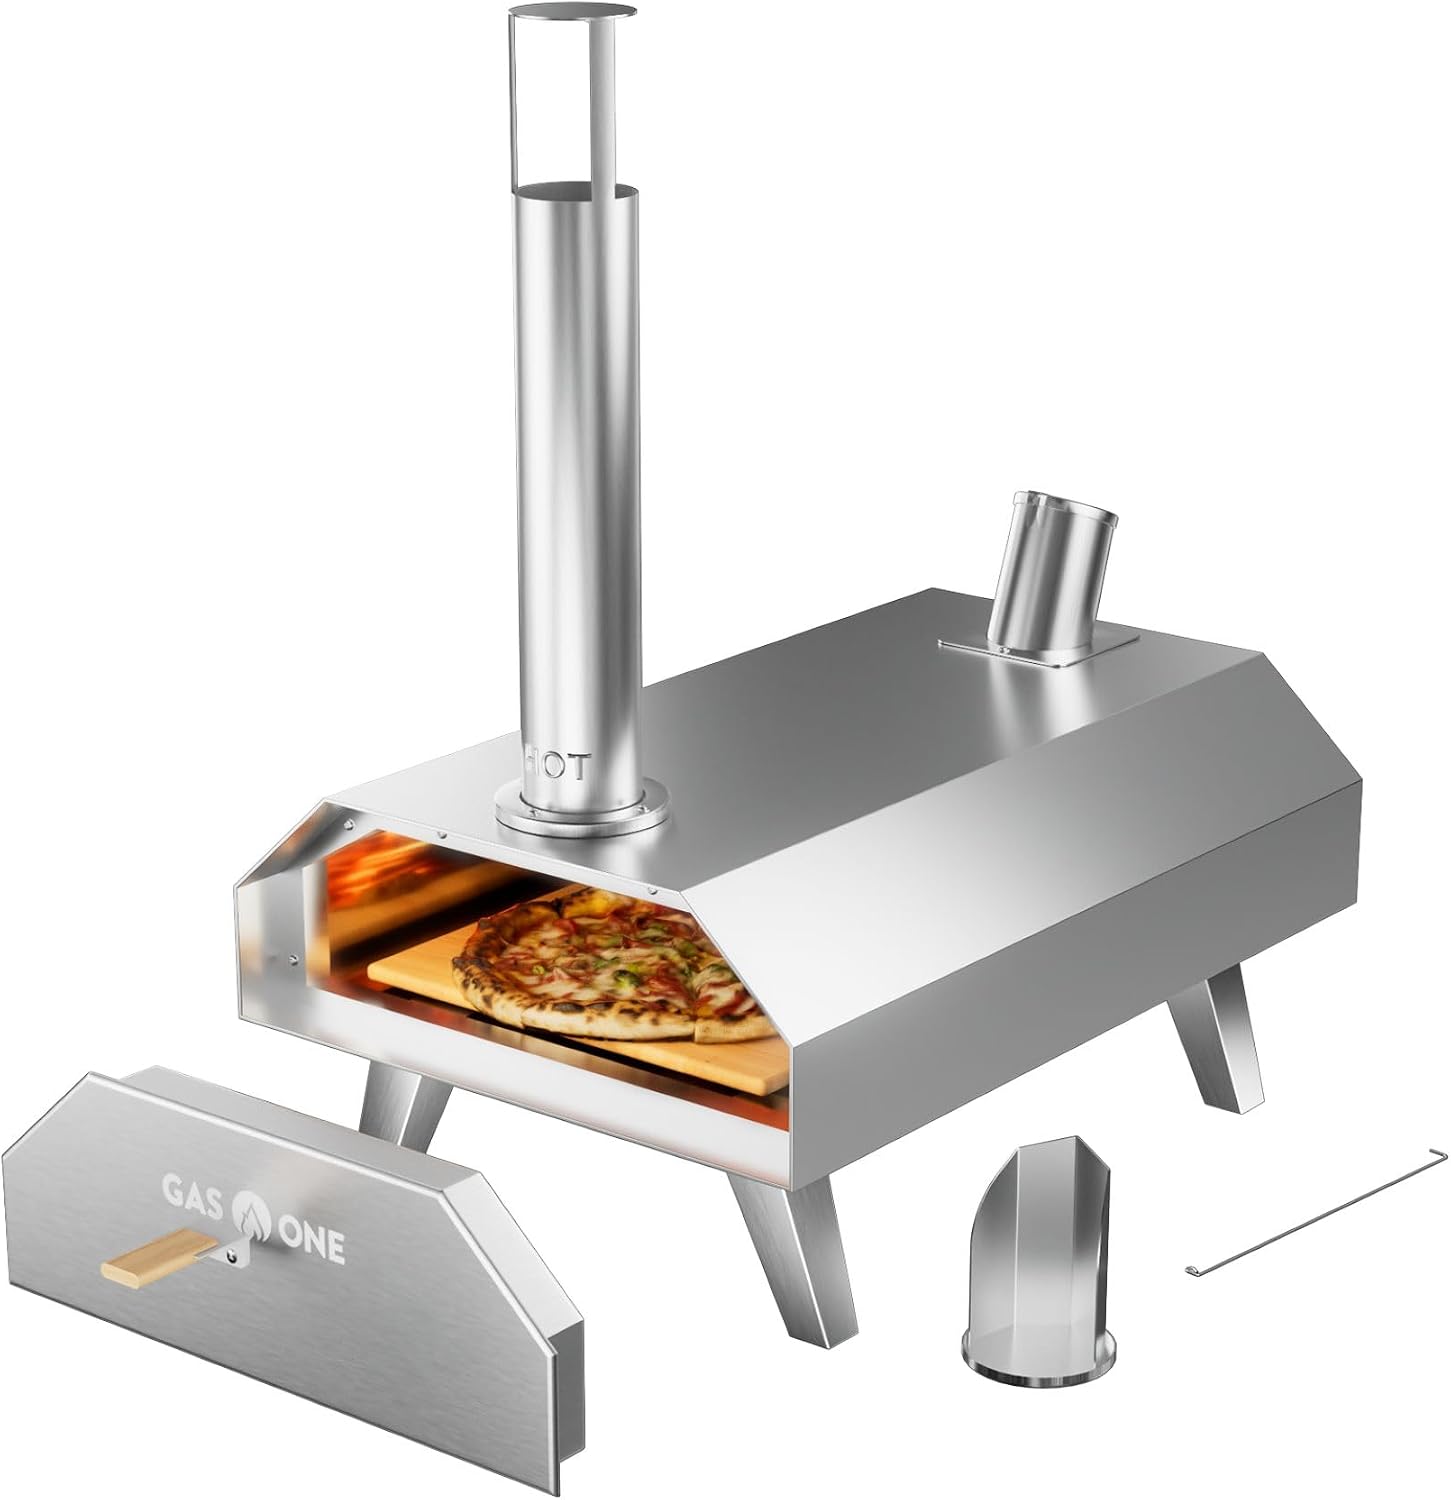
Budget pick: GasOne PZW-12A Pizza Ovens Wood Pellet 12” Pizza Oven Cooking Pizza Maker Portable Stainless Steel Pizza Grill - Portable Party, Tailgating, Backyard, Camping
 Visit on Amazon →
This is the oven I hand to people who want to find out whether they actually enjoy making pizza before they spend real money. It is a 12-inch stainless pellet oven, which means the fuel is a scoop of hardwood pellets and the learning curve is a fire you have to feed. Check current Amazon price.
What it does well: it is light enough to carry to a tailgate or a campsite, it does not need a propane tank or a hose, and pellets are cheap and easy to store. The pellet fuel also gives you a live flame over the pie, which is where the char and the leoparding on the rim come from.
Flaws but not dealbreakers: A 12-inch floor means 12-inch pies, so if you are feeding four people you are cooking in batches and the oven has to recover between each one. Pellet ovens need feeding during a bake, and if you walk away for five minutes the temp drops. Learn to feed and launch in the same motion.
Anyone who wants portability, a small footprint, and a low entry cost should start here. If you are cooking for one or two, this is honestly the smarter buy.
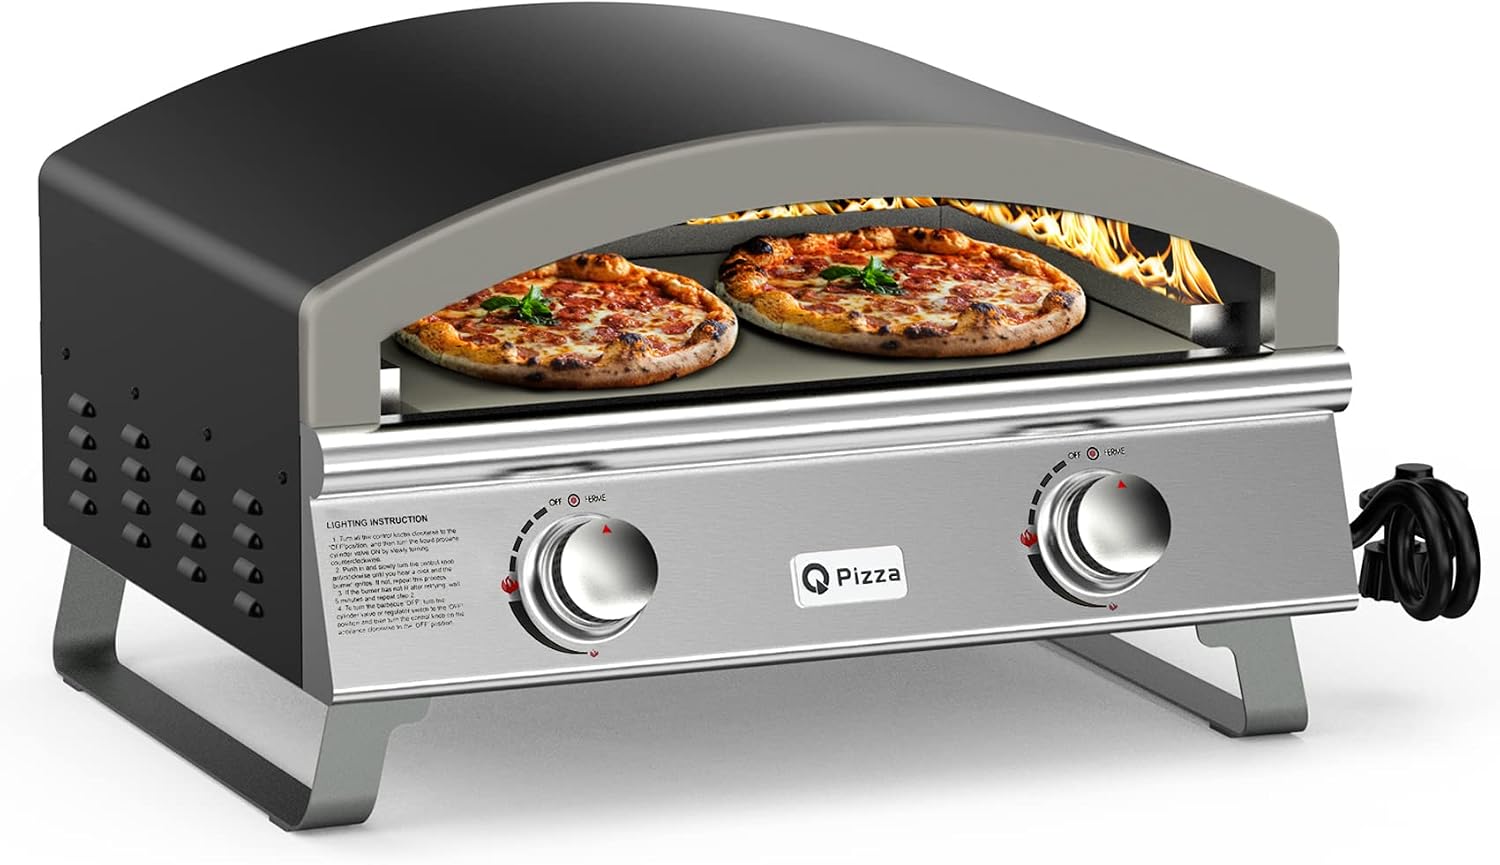
Our pick: 25" Large Propane Pizza Oven, 2-Burner Gas Pizza Maker, PS103
 Visit on Amazon →
This is the oven for the Saturday when eight people are standing in your yard. A 25-inch floor with two burners means you can run one burner under the stone for floor heat and the second for the dome, which is how you get an even bake instead of a scorched rim and a pale bottom. Check current Amazon price.
The size is the whole point. You can cook a 16-inch pie without crowding the edge, and you can load two smaller pies side by side, which changes the rhythm of a party. Gas also means no fire to tend: turn the knob, wait for the stone, launch. Two burners recover faster between pies than a single burner or a pellet hopper, and that recovery time is what keeps a line of guests fed instead of standing around holding empty plates.
Flaws but not dealbreakers: It is a propane appliance, so you are managing a tank, a hose, and a spot that is safe for an open flame. It is also big and heavy enough that it lives where you put it, on a sturdy table or a cart, rather than in a closet. If you want something you can toss in the trunk, this is not that.
Anyone who hosts, or who wants a bigger floor and faster recovery without tending a fire, should look here first. Gas is easier; this oven is the argument for easy.
How to run your first night in a new oven
Now the part that decides whether you love the oven or blame it.
Step one: Burn it off. New ovens ship with oil and manufacturing residue on the metal. Run it hot and empty for 20 to 30 minutes before the first pie. Your first pizza will still be bad. That is fine, that is the pie you sacrifice.
Step two: Take a stone temp reading. Do not trust the dial or the box. Point an infrared thermometer at the center of the floor and read it. For a Neapolitan-style bake you want the stone in the 750 to 900F range. For a New York slice, 600 to 700F is a better target because the pie needs longer in the oven.
Step three: Bring the dough to room temperature. Cold dough drops the stone temp the second it lands, and cold dough will not give you the rim rise you want. My standard is a 62% hydration dough with a 48-hour cold ferment, pulled out of the fridge two hours before launch.
Step four: Flour the peel properly. Semolina, or a 50/50 blend of semolina and 00 flour. A peel with a lip keeps the pie from sliding off the back edge while you are still learning. Shake the peel between every topping to make sure the dough is still moving.
Step five: Launch and rotate. Aim for the back third of the stone, then turn the pie every 20 to 25 seconds. In a hot oven the whole bake is 60 to 90 seconds. You are looking for leoparding on the rim, not an even brown.
Step six: Read the bottom. Lift an edge with the peel and look at the underside. Pale means the floor is not hot enough. Black spots only in the center mean the floor is too hot in the middle, which is common on single-burner ovens.
Step seven: Let the oven recover. Take a stone temp reading before pie two. On the big propane oven the recovery is quick. On a pellet oven you will need to feed and wait. If the temp has dropped 100F or more, wait. Launching onto a cold floor is how you get a gummy center.
Step eight: Judge the oven on pie two. That is the pie that tells you what you bought. If the second pie has better leoparding and a crisper bottom than the first, the oven is doing its job and you just needed the reps.
The competition and why it lost
There is no shortage of ovens in this category, and most of them are fine. The reason this guide comes down to two is that the decision is really about fuel and floor size, not about brands.
The big wood-fired domes are wonderful ovens. They are also a weekend ritual with a long warm-up and a fire you have to manage, and if you are lighting one at 7pm on a Tuesday, you are doing it wrong. That is a Saturday oven, not a weeknight oven.
Indoor electric countertop ovens are the other direction, and they are the best thing to happen to weeknight pizza in years. But an electric oven that lives on the counter is a different purchase with a different ceiling on stone temp, and it belongs in its own guide.
And the mid-size gas ovens that print big numbers on the box but top out well below what the label suggests? I have cooked on enough of them to stop recommending ovens by their marketing copy. Stone temp reading or it did not happen.
The accessories are the same story. Half of what is sold next to these ovens is a solution to a problem you do not have yet. A peel with a lip and an infrared thermometer cover most of it. Buy those two things with the oven and skip the rest until you know what you are missing.
What this all costs
The two ovens here sit in different budget classes, and the honest way to think about it is cost per pie over a couple of seasons.
The pellet oven is the lower entry point, and pellets are the cheapest fuel per bake. You buy a bag, you keep it dry, and it lasts a long while. The catch is time: you are feeding a fire, and a fire takes attention.
The propane oven costs more up front and more per tank, and a tank refill is the recurring cost nobody budgets for. What you buy with that money is floor space, faster recovery, and the ability to cook for a group without babysitting a hopper.
Dough is the wild card in both cases. Flour, yeast, and cheese will outspend the fuel in a year if you cook often, which is why a 48-hour cold ferment in your fridge does more for your pizza than any upgrade under a few hundred dollars. Check current Amazon price on both ovens before you decide, and then decide based on the night you actually cook on: a Tuesday, or a Saturday.
That is the job. Pick the heat machine that matches your calendar, get the stone to temp, and let the dough do the work.