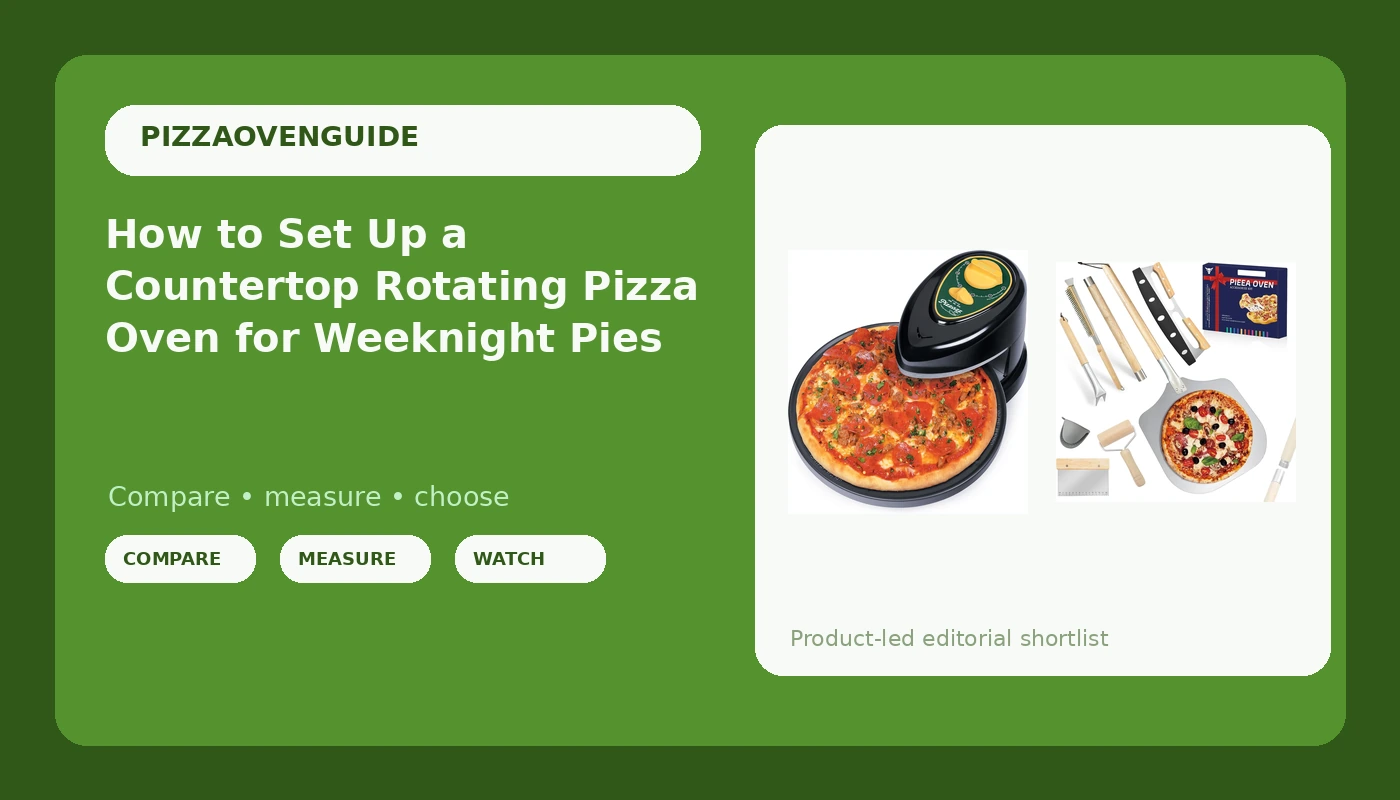
A countertop rotating pizza oven is the least glamorous purchase in this whole hobby, and on a Tuesday it is the one that actually gets used. A wood-fired dome is Saturday equipment. You light it, you tend it, you stand in the yard. A countertop rotating pizza oven plugs into a normal outlet, sits between the toaster and the coffee maker, and turns the pie for you while you finish a work email.
The catch is that most people buy one, bake one pale, gummy pie, and decide the oven is a toy. The oven is almost never the problem. It is a heat machine with a fixed top element and a turntable, and it rewards one specific kind of setup: a stone that is fully soaked with heat, a dough ball sized to that stone, and a peel that lets you launch in a single motion.
This is the setup I walk people through when they tell me they want pizza on a weeknight without a fire. Two pieces of gear carry the whole thing, the Presto 03434 Pizzaz Plus Rotating Oven and a 7PCS Pizza Oven Accessories Kit. Everything else is method, and the method is free.
Why you should trust me
I spent five years working the oven at a Neapolitan pizzeria in New Jersey before I switched to food writing full time. That job taught me that the oven sets the ceiling and the dough decides whether you get anywhere near it. Since then I have cooked in eight pizza ovens over three years, from a $60 countertop box up to a wood-fired dome that cost more than my first car.
I score every pie on the same four things: char, leoparding, rim rise, and bottom crisp. I keep the photos and the notes. I will not judge an oven without at least eight pies through it, I cook the same two dough recipes every time so the results compare, and I disclose any loaned unit. I also do not make temperature claims without an infrared thermometer reading to back them up.
What follows is the transferable part: the order of operations that makes a small electric oven behave like something better than it is.
How I decided what belongs in this guide
The gear here is not a ranking of every pizza oven on the market. It is the short list that fits one job, which is dinner on a Tuesday, indoors, in a kitchen that already has too much on the counter.
For a countertop electric, I care about four things. First, does the turntable keep turning under a loaded pie, because a turntable that stalls turns into a hot spot. Second, can the stone hold enough heat to color a rim rather than just dry it out. Third, footprint and cleanup, because an oven that needs a dedicated shelf is an oven that gets stored in the garage. Fourth, whether the door seals well enough to trap the heat you paid for.
For tools, I am stricter than most people expect. Half the accessories sold in this category solve problems you do not have yet. A peel and an infrared thermometer cover most of it. After that, I want a brush that reaches the stone without shedding bristles, and I want a peel with a lip, because a peel with no lip is a peel that throws your pie onto the floor.
The two products below are what I would start with. If you already own a countertop oven, the kit is the piece that changes your results fastest.
The gear that does the work
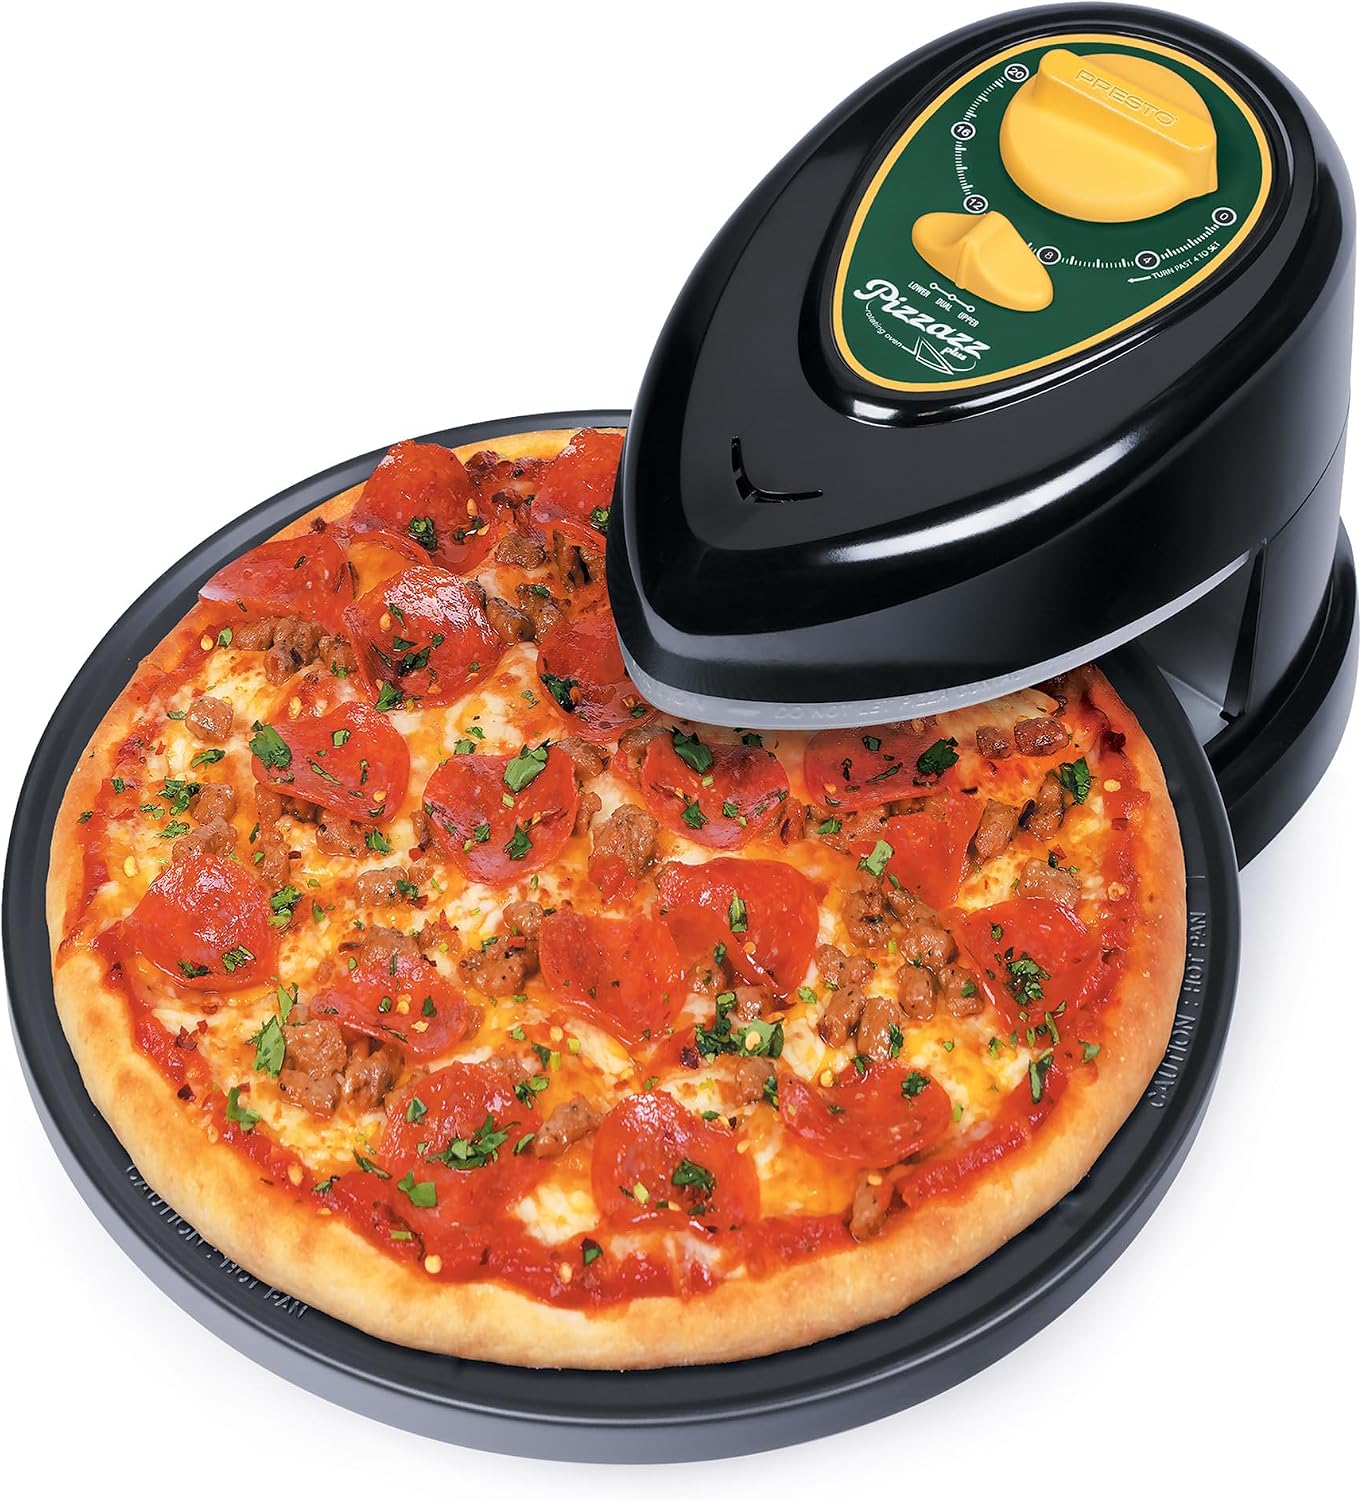
Our pick: Presto 03434 Pizzaz Plus Rotating Oven
 Visit on Amazon →
This is the shape of weeknight pizza. It is a countertop electric with a rotating turntable, which means you load the pie once and the oven does the turning that you would otherwise do with a peel and a lot of swearing. That single feature is why it belongs at the top of this guide instead of a bigger, hotter oven that stays in the garage.
Check current Amazon price. What you are buying is consistency, not peak heat. A countertop electric is not going to give you a 60-second Neapolitan bake with a leopard-spotted rim. What it gives you is a repeatable 4 to 6 minute pie with an evenly colored bottom, because the turntable keeps one side of the crust from sitting over the same hot spot for the whole bake.
Flaws but not dealbreakers: the top element is fixed, so you cannot chase the domed radiant heat that a real dome throws at the rim. You compensate with a longer preheat and a slightly lower hydration dough. Also plan for the footprint. Measure the spot on your counter before you commit, because these ovens are wider than they look in photos.
Anyone cooking for one or two on a weeknight, in an apartment or a kitchen with a normal 120-volt outlet, will get more real dinners out of this than out of an oven twice the size.
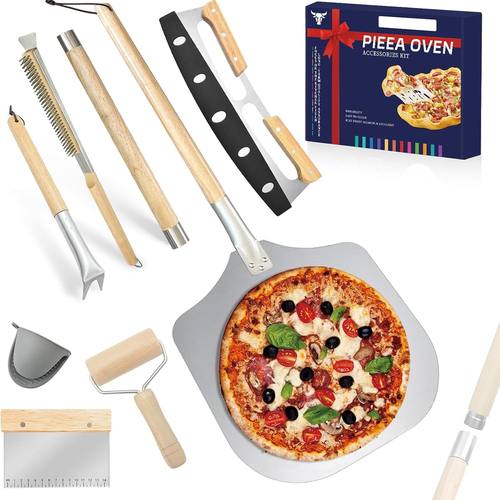
The support kit: 7PCS Pizza Oven Accessories Kit | Pizza Peel, Oven Brush, Bubble Popper Turner, Rocker Cutter, Dough Roller & Scraper
 Visit on Amazon →
Seven pieces, and honestly three of them do the heavy lifting. The peel gets the pie onto the stone, the brush keeps the stone clean between bakes, and the bubble popper flattens the blisters that form over the sauce so your cheese does not slide off the middle of the pie. Those three are the reason I would buy this kit rather than hunting for each tool separately.
The rocker cutter, the dough roller, and the scraper are the pieces people argue about. A rocker cutter is genuinely nice on a countertop pie because you are cutting on a smaller surface and a rolling wheel tends to drag the crust. The scraper earns its place on dough day. The dough roller is the one I would leave in the drawer unless you are rolling cracker-thin crusts on purpose.
Check current Amazon price for the kit as a set, because buying these individually usually costs more than the bundle.
Flaws but not dealbreakers: a seven-piece kit means seven things to wash and store, and the pieces you do not use will end up in a drawer. Check that the peel fits your oven's opening before you commit. A peel wider than the mouth of a countertop oven is useless.
Anyone starting from zero tools will save money and a shopping trip here.
The actual setup and bake workflow
This works on any countertop rotating oven. Follow the order.
Step one: position the oven. Pull it away from the wall by a few inches and keep it out from under a cabinet. These ovens throw heat upward, and a cabinet door above the unit will get warm. Set it on a stable, heat-safe surface, not on a cutting board that can warp.
Step two: preheat longer than you think. This is the step everyone rushes. The display or the dial tells you the air in the box is hot, but the air is not what cooks the bottom of your pie. The stone is. Give it a full 20 to 30 minutes so the stone soaks heat instead of borrowing it from your dough.
Step three: verify the stone, do not trust the dial. Point an infrared thermometer at the center of the stone. If the reading is well below your target, wait. If the reading is uneven from edge to center, wait longer. This single habit is the difference between a crisp bottom and a pale, floppy one.
Step four: size the dough ball to the stone. A ball that overhangs the stone will droop and burn on the element. A ball that is too small will bake into a cracker before the toppings set. Stretch to leave a small margin of stone visible all the way around. If your dough keeps snapping back, it needs another ten minutes of rest, not more flour.
Step five: flour the peel with something coarse. Semolina or a coarse grind is more forgiving than fine flour. Dust the peel, shake it to confirm the dough slides, and build the pie on the peel, not on the counter. If the dough sticks, lift the edge and blow a little air underneath rather than adding more flour on top.
Step six: launch in one motion. Open the door, line the back edge of the peel up with the back of the stone, and pull the peel back in a single smooth movement. Hesitation is what tears a pie. Close the door immediately after.
Step seven: leave the door closed. The turntable is doing the rotation. Every time you open the door to check, you dump heat out of a small box that does not have heat to spare. Trust the timer and the smell.
Step eight: rest the pie before you cut it. Sixty seconds on a rack or a board lets the cheese set. Cutting immediately gives you a puddle of sauce and cheese on the stone.
Where this setup stops and a bigger oven starts
A countertop rotating oven is a weeknight tool and it is honest about that. It will not give you the 900F dome bake with a puffy, blistered cornicione, and no accessory will fix that, because the limit is the machine, not the peel.
Gas and wood ovens are the weekend answer. Gas is easier and more repeatable. Wood gives you flavor and a ritual, and anyone who tells you one is objectively better has not cooked on both in the same month. What I would not do is buy a big oven first and learn on it, because the first pie in any new oven is bad. Plan for it. The second one tells you what you bought, and you want that lesson to cost you a countertop appliance, not a four-figure dome.
If your goal is indoor pizza on a schedule, this class of oven is the right class. If your goal is a party in the yard, save up and buy the yard oven later.
Common mistakes that ruin a countertop pie
- Cold stone. The number one cause of a soggy center. Preheat longer than feels reasonable.
- Too much sauce and cheese. A wet pie cannot crisp on any stone. Go lighter than you think, especially with fresh mozzarella, which releases water.
- A sticky dough at high hydration. Countertop ovens reward a slightly firmer dough than a 900F dome does. Drop the water a little while you learn the oven.
- Crowding the stone. One pie at a time. Two pies means two lukewarm pies.
- Cutting on the stone. It will scratch and it will hold onto grease. Move the pie to a board.
What this all costs
Both items are one-time purchases, and both of them keep working after the novelty wears off. The oven is the bigger line item, and the kit bundles tools you would otherwise buy one at a time, usually at a worse price per piece. Check current Amazon price on both and do the math against a year of delivery pizza on Tuesday nights, which is the actual comparison that matters.
The honest cost breakdown is not dollars, it is time. Twenty minutes of preheat, ten minutes of dough handling, five minutes of baking. That is a weeknight dinner, and it is faster than waiting on a delivery app during a rainstorm.
Questions I get
Do I need the thermometer? Yes, if you want to stop guessing. It is the cheapest upgrade in this entire workflow, because it tells you when the stone is actually ready rather than when the light turns off.
Can I cook frozen pizza in it? You can, and it works fine, but that is not why you bought it. Use a frozen pie to learn how your oven behaves before you risk a dough you spent two days fermenting.
Does the turntable replace a peel? No. The turntable rotates the pie once it is on the stone. It does not get it there. You still need a peel with a lip.
The short version
Soak the stone with heat, size the dough to the stone, launch in one motion, and leave the door alone. That is the whole method, and it is the same method whether you are cooking on a countertop turntable or a dome in the yard. The oven gets the credit. The setup does the work.