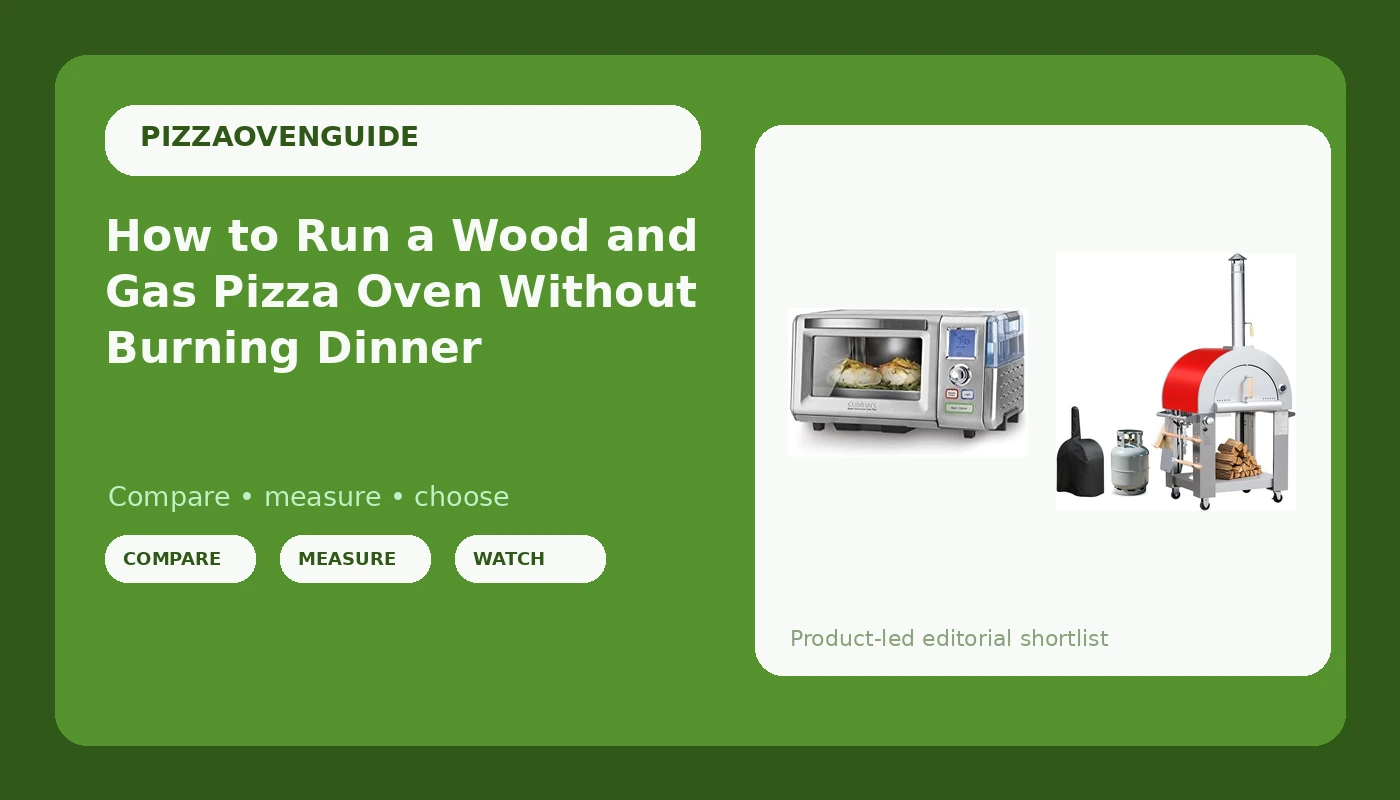
A wood fired and propane pizza oven is a heat machine with two personalities, and the mistake almost everyone makes is treating them the same. Light the fire on a Tuesday night and you have signed up for 45 minutes of tending before the first pie goes in. Open the gas valve on that same Tuesday and you are eating in 25 minutes. Same oven, same stone, two completely different jobs.
I cooked the oven at a Neapolitan pizzeria in Hoboken for five years before I switched to writing about food. I have tested eight ovens in three years, from a $60 countertop box to a $900 dome, and I score every pie on the same card: char, leoparding, rim rise, bottom crisp. I keep the photos. The card does not care how much you spent.
This guide is about the routine, not the receipt. Pick the fuel, cure the dome, learn the stone, and make the same dough until your hands know it. The oven gets the credit. The routine does the work.
Why you should trust me
Five years of service at a pizzeria teaches you one thing fast: a pizza oven is only as good as the person reading it. I spent those years learning what 90 seconds looks like when the stone is right and what it looks like when the fire has dropped and the pie sits there steaming instead of blistering.
Since then I have run eight home ovens through the same two test recipes so the results actually compare. Same dough, same sauce, same cheese, same launch. I do not review an oven until I have cooked at least eight pies in it, because the first one is always bad and the second one tells you what you bought.
I do not quote a temperature I have not read off an infrared thermometer. If a box claims a number, I want to see it on the stone.
How I picked and how I tested
The two ovens below cover the two ends of a real home kitchen: a large dual fuel outdoor oven for the nights you want a fire, and a countertop convection oven for the nights you do not. That split is the whole point of this article. The question is never "which oven is best." It is "which oven fits the night you are actually having."
For the outdoor class, I look at four things. Fuel flexibility, because an oven that only burns wood is a weekend-only tool. Dome height and mouth width, because a low dome with a narrow mouth is where rim rise goes to die. Floor material, because a cordierite or biscotto stone holds heat between pies and a thin one does not. And whether the thing comes with a cover, because a stainless oven living outside without one is a rust experiment.
For indoor countertop ovens, I look at whether the element actually gets the cavity hot, whether there is room for a stone or a steel, and whether the controls hold a setting instead of drifting. I also look hard at whether a unit is new or renewed, and what the seller says about the condition.
Every unit I write about gets the same treatment: one dough recipe I have made ten times, one sauce, one cheese, and a stone temp reading before each launch.
The two ovens this guide is built around
You can run this routine on almost any oven that gets hot and holds heat. These are the two I would build it around today, one for the yard and one for the counter.
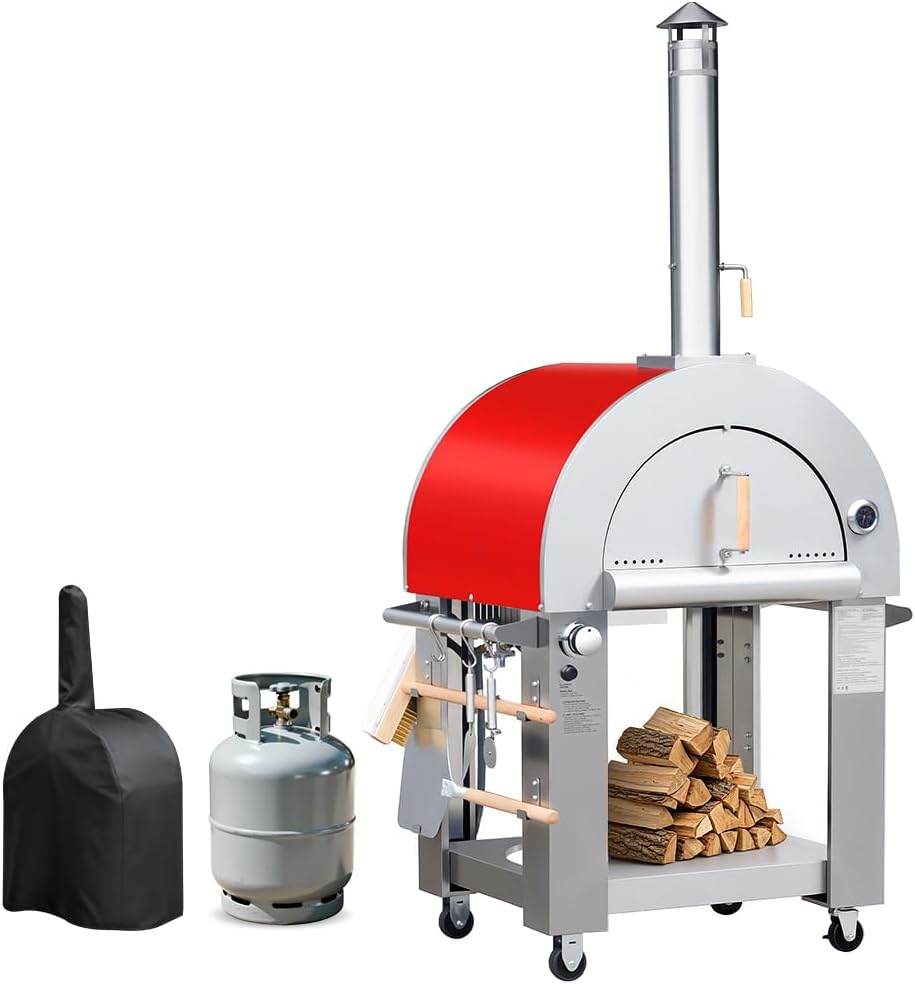
The weekend centerpiece: KOSTCH 32.5 inch Wood Fired and Propane Gas Pizza Oven for Outdoor Kitchen in Stainless Steel, Large Pizza Oven for Outside, Yard and Party (Red with Cover)
 Visit on Amazon →
This is the oven that answers the fuel argument instead of picking a side. It burns wood when you want to tend a fire, and it runs on propane when you want to open a valve and get on with dinner. In a large format with a stainless body, it is built for the yard and the party, which is exactly the class of oven where dual fuel earns its keep.
What I care about here is the size. A large floor gives you room to work two pies at once and to keep the next one shaped while the first one blisters. It also means more thermal mass, and more thermal mass means the stone recovers faster between launches. That is the difference between a party where everyone eats and a party where you are standing at the mouth of the oven apologizing.
The cover matters more than people think. A stainless oven that lives outside in New Jersey weather without one is a warranty claim waiting to happen. Having it included saves you the second order.
Flaws but not dealbreakers: A dual fuel oven means you own two fuel systems, and two fuel systems mean two things to check before you light anything. Propane runs out. Wood runs damp. Neither is a reason to skip this class of oven, but both are reasons to check before guests arrive.
Anyone hosting in a yard, a patio, or a driveway who wants one oven that covers the ritual and the shortcut should start here.
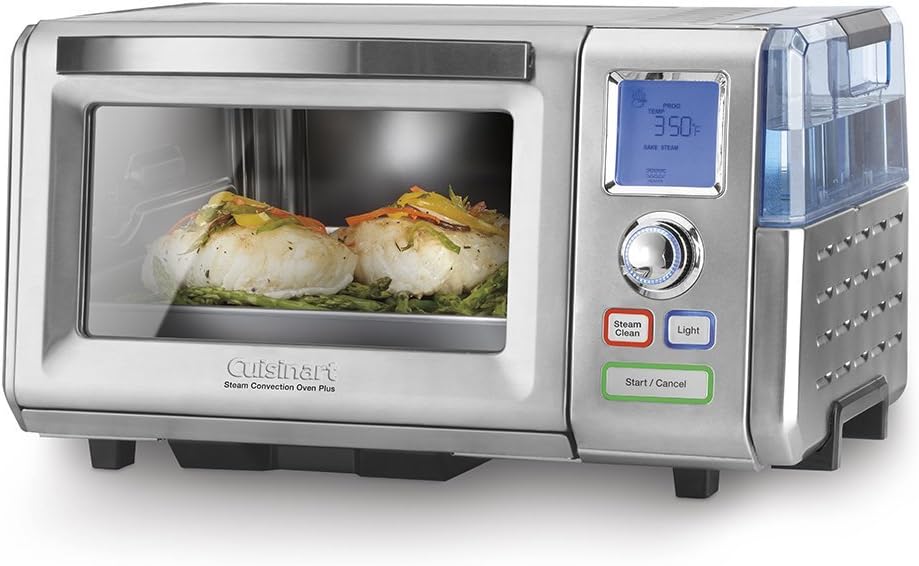
The weeknight workhorse: Cuisinart Convection, Stainless Steel Steam & Convection Oven, 20x15 (Renewed)
 Visit on Amazon →
Nobody wants to light a fire at 7pm on a Tuesday. This is the countertop answer: a convection oven with a steam function, sized at 20 by 15 inches, which is enough footprint for a stone or a steel and a pie or two.
Convection moves air, and moving air means a more even cavity than a still oven. The steam side is the interesting part. A short burst of steam in the first minutes of a bake keeps the surface of the dough from setting too early, which helps oven spring and rim rise before the crust turns and hardens. It is not a substitute for a 900F dome, and it is not trying to be. It is a way to get real browning and real spring on a night when the yard is dark and the fire is not happening.
This listing is a renewed unit, so read the condition notes and the seller terms before you buy. That is not a knock. It is a price of entry worth understanding.
Flaws but not dealbreakers: A countertop oven has a small cavity, so a 12-inch pie is closer to the ceiling than you would like. Keep an eye on the top of the crust and be ready to cover the surface if the cheese starts to break before the bottom sets.
Anyone cooking indoors in an apartment, a small kitchen, or a house where the outdoor oven is a weekend-only tool will get real weeknight mileage out of this.
The step-by-step workflow
Here is the routine, in the order I actually run it.
Step one: Decide the fuel before you light anything
Gas for Tuesday, wood for Saturday. That is the rule, and I have never found a reason to break it. Gas gives you a repeatable, controllable flame and a stone temp you can dial in without guessing. Wood gives you a live fire, a moving hot spot, and a flavor that comes from the fire itself, plus a lot more attention.
Pick before you prep. If you decide at the last minute, you will be tending a fire while your dough over-proofs on the counter.
Step two: Cure the oven and learn its hot spots
A new oven, especially a metal one, needs a first burn with no food in it. Bring it up slowly, let it sit, let it cool. This burns off manufacturing oils and lets you watch how the body moves as it heats.
Then map it. Every oven has a hot corner and a cool corner. On gas, it is usually near the burner. On wood, it is wherever the flame is sitting that night. Launch a plain dough round with nothing on it and watch where it colors first. That map is worth more than any spec sheet.
Step three: Read stone temp with an infrared thermometer
Point the thermometer at the stone, not the air, not the dial, not the door. The stone is what bakes the bottom of the pie, and the stone reading is the number that decides whether your crust sets or steams.
For a fast, hot bake, you want the floor hot enough that a dough round blisters in about 90 seconds. For a slower bake in an indoor oven, you want the stone fully saturated, which takes longer than the display suggests. Give any stone 30 minutes of preheat minimum, and longer in a cold kitchen.
If the box claims a number and your thermometer reads something else, believe the thermometer.
Step four: Mix a dough you have made ten times
The oven gets the credit but the dough does the work. A 48-hour cold ferment beats any upgrade under $300, and it costs you nothing but planning.
Keep hydration in a range your flour can handle, around 60 to 65 percent for a home oven and a little higher if you are comfortable handling slack dough. Mix, rest, fold, ball, and put it in the fridge. Two days later it is a different product: more flavor, better extensibility, better rim rise, better leoparding.
The rule that matters most: do not debut a new dough recipe on a night you are also debuting a new oven. Two variables is one too many.
Step five: Shape, top, and launch
Flour your peel, and keep a lip on it. A peel with no lip is a peel that dumps your pie onto the floor. Shake the shaped dough on the peel before you top it, so you know it moves.
Top light. Sauce, cheese, and one or two things that belong. A heavy pie in a hot oven is a wet pie in the middle and a burnt pie at the rim.
Launch with one confident push, not a nervous wiggle. Then leave it alone for 20 to 30 seconds before you think about turning it.
Step six: Rotate and pull
In a wood oven, the hot spot is real, so rotate a quarter turn every 20 seconds or so. In a gas oven, the bake is more even, so you can rotate less. Either way, you are looking for color, not a clock. Rim rise, spotting, and a bottom that sounds hollow when you tap it with the peel.
Pull the pie before it looks perfect. It keeps cooking for a few seconds on the way to the cutting board.
Step seven: The indoor version for a Tuesday
Put the stone or steel in the countertop oven and preheat it fully, longer than you think you need. Run the convection setting for even air. If the oven has steam, use a short burst at the start of the bake to help spring, then let the dry heat finish the crust.
Bake a smaller pie, closer to 10 or 11 inches, so it fits the cavity with room for air to move. Finish under the broiler if the top needs color after the bottom has set. This will not taste like a fire. It is not supposed to. It is supposed to be dinner on a Tuesday, and it will be.
Step eight: Make the second pizza
The first pie in any oven is a test. The second one tells you what you bought. Plan for that. If the first one is bad, you have learned where the hot spot is, how fast the stone recovers, and how thin to stretch. Use it.
What I left out and why
I am not covering pellet grills, indoor built-in wall ovens, or the long list of accessories that solve problems you do not have yet. A peel and an infrared thermometer cover most of what you actually need. Everything past that is a solution looking for a problem.
I am also not going to tell you a $300 oven beats a $900 one. It does not. What I will tell you is that a 12-inch oven that hits real temperature beats a 16-inch oven that struggles, and that a dough you have made ten times beats both.
What this all costs
The math here is simple. You are buying a heat machine and a routine. The routine is free: a dough recipe, a stone temp reading, and eight pies of practice. The machine is the part with a price tag, and both ovens above are worth checking on the current listing rather than trusting an old number.
The honest cost comparison is per night, not per oven. If a dual fuel outdoor oven gets used every Saturday for two years, the per-night number is small. If it gets used twice, it is a very expensive piece of yard art. The countertop convection oven has the opposite problem: it is cheaper, it gets used more, and it does not give you a fire.
Buy for the night you actually have. Then make the same dough until your hands know it. That is the whole job.