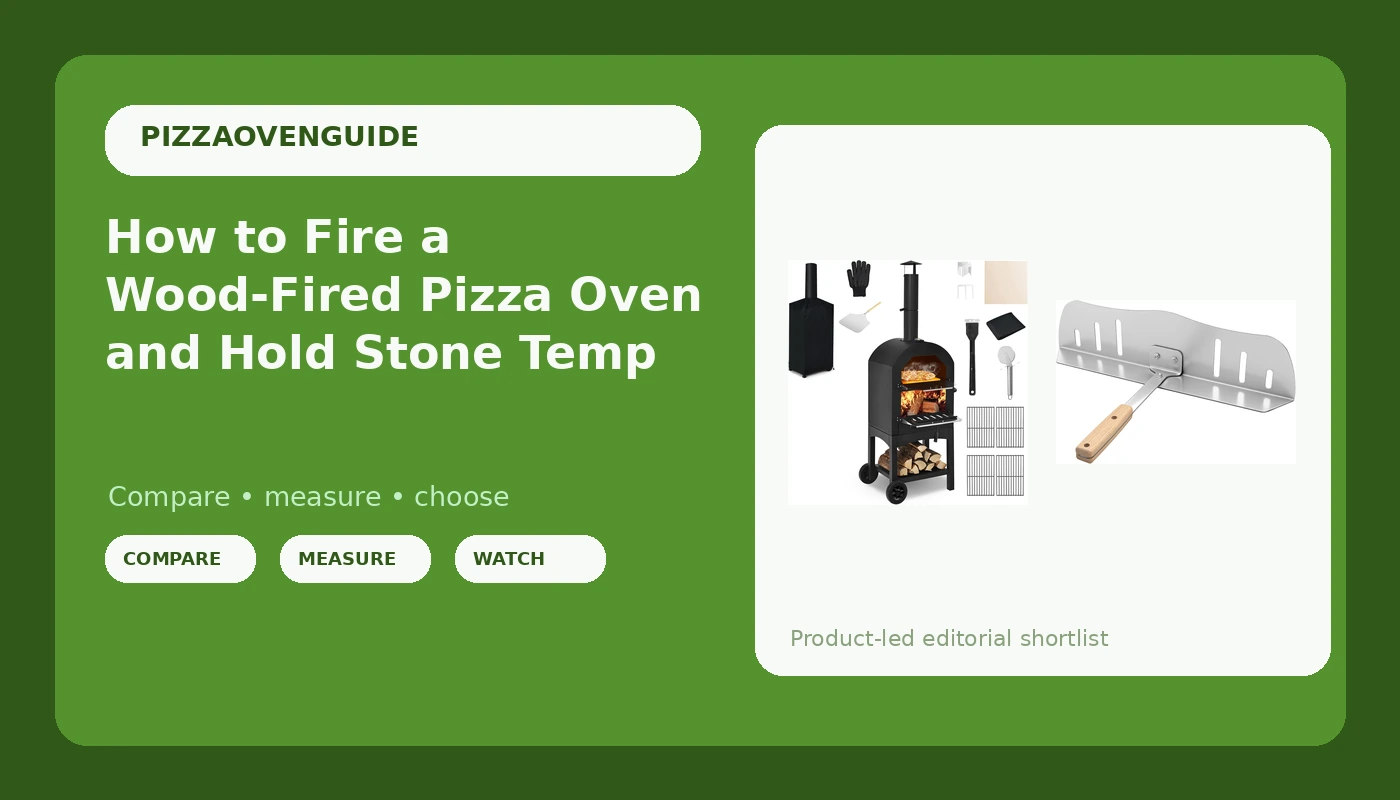
A wood fired pizza oven is a heat machine. Everything else, the dough, the sauce, the cheese, is there to not get in its way. Most home cooks get that backwards and spend the night fussing over toppings while the floor goes cold underneath them.
A wood fired pizza oven also does not behave like a gas grill. You cannot dial it. You build a fire, you bank heat in the floor, and then you spend the rest of the evening trying to keep that floor where you want it. The air at the dome tells you one story, the floor tells you another, and the floor is the one that bakes the pie.
I have run eight ovens over three years, from a cheap countertop box to a big wood dome, and the sequence below is what I do every time: site the oven, build a small fire, read the floor with an infrared thermometer, and manage the mouth of the oven instead of guessing at it. The piece of gear that does the most work for the least money is the door you slide across the opening. Here is how to run the whole thing.
Why you should trust me
I spent five years working the oven at a Neapolitan pizzeria before I moved into food writing. I still live two blocks from a place that has been running since 1948, and the man who runs it measures dough by feel, which I do not recommend and cannot stop watching.
Since then I have cooked in eight pizza ovens over three years. My rule is simple: I do not form an opinion on an oven until I have cooked at least eight pies in it, and I cook the same two dough recipes every time so the results compare. Every stone temp I quote comes off an infrared thermometer, never off a dial or a claim printed on a box. I score each pie on char, leoparding, rim rise, and bottom crisp, and I keep the photos to prove it.
How I picked and how I tested
This is not a ranking of every oven on the market and it is not a brand fight. It is the workflow I run on any wood oven, plus the two pieces of gear that make that workflow repeatable: the oven itself and something to control the mouth of it.
I judge a wood oven on three things you can check before you ever light it. First, the thermal mass in the floor, because a thick floor holds heat between pies. Second, how well the chimney draws, because a good draw keeps smoke off your food and pulls the flame across the dome, which is what gives you leoparding instead of a gray crust. Third, the size of the mouth, because a mouth you can work with a peel without scraping your knuckles is worth more than a couple of extra inches of cooking surface.
Then I cook. Same dough, same sauce, same cheese, same night. A 12-inch oven that hits high heat beats a 16-inch oven that struggles past the middle of its range, and I would rather own the hot one.
The oven and the door you need before you start
Two pieces of gear decide how the night goes, and neither one is a topping.
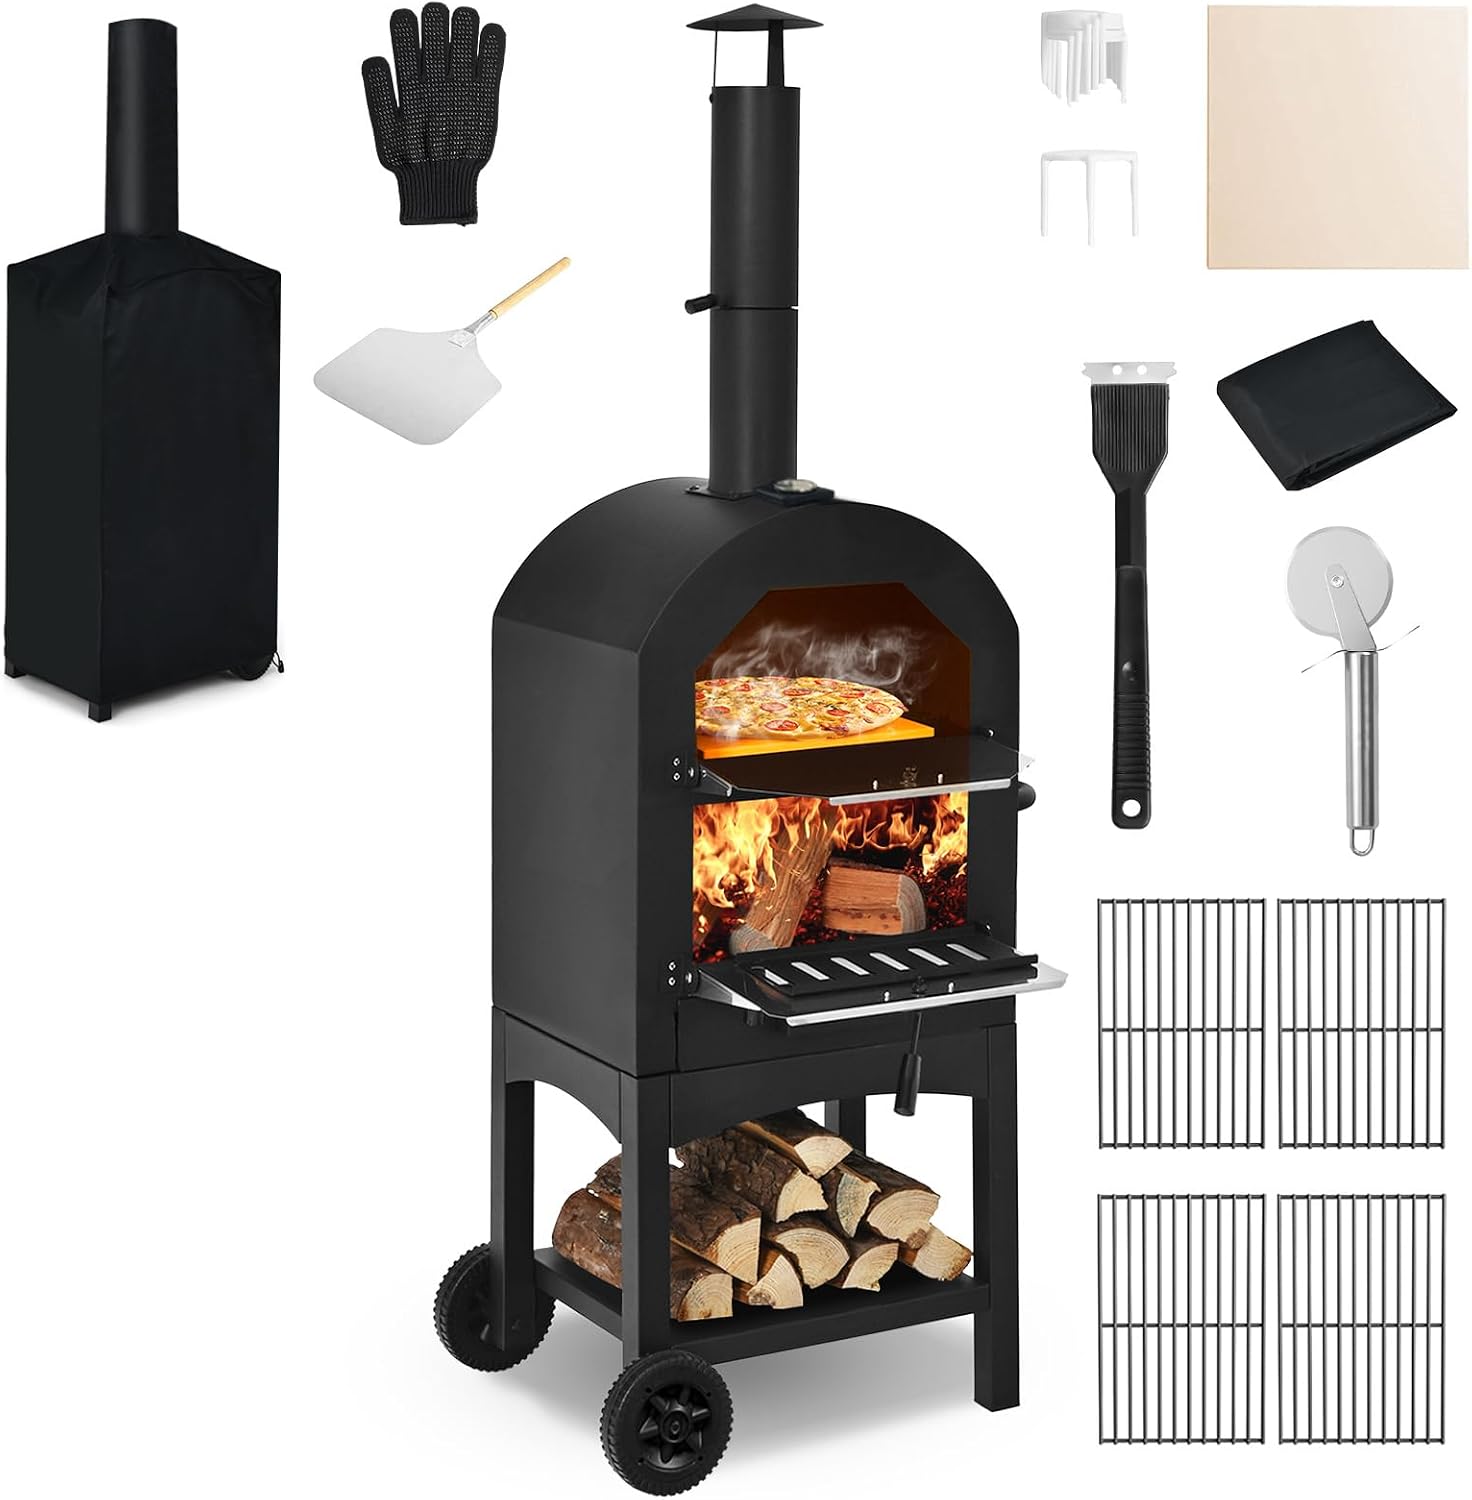
The oven: COSTWAY Outdoor Pizza Oven, Wood Fired Pizza Oven for Outside
 Visit on Amazon →
This is the oven this guide is built around: a wood fired outdoor oven meant to live outside, on a patio or in a yard, burning wood rather than gas or pellets. That distinction matters more than any feature list. A wood oven is a manual machine. You are the thermostat.
What to check before you commit comes down to the floor, the draw, and the mouth. Walk the footprint against where you will actually stand when you cook, because you will be feeding splits in with one hand and holding a peel with the other. Wind exposure matters too. An oven with a wide open mouth sitting in a crosswind will shed heat all night and you will spend the evening chasing it with fuel instead of cooking.
Setup is not complicated. Level ground, a non-combustible base, clearance from anything that can burn, and a first burn with no food anywhere near it. Read the manufacturer's instructions for that burn and follow them exactly. My rule about the first pie still applies. It will be bad. That is not the oven's fault yet.
Flaws but not dealbreakers: A wood oven asks for attention. Someone has to feed it while everyone else is eating. If that person is never going to be you, buy gas and be honest about it with yourself.
Anyone who wants the weekend ritual rather than a weeknight appliance will get the most out of an oven like this.
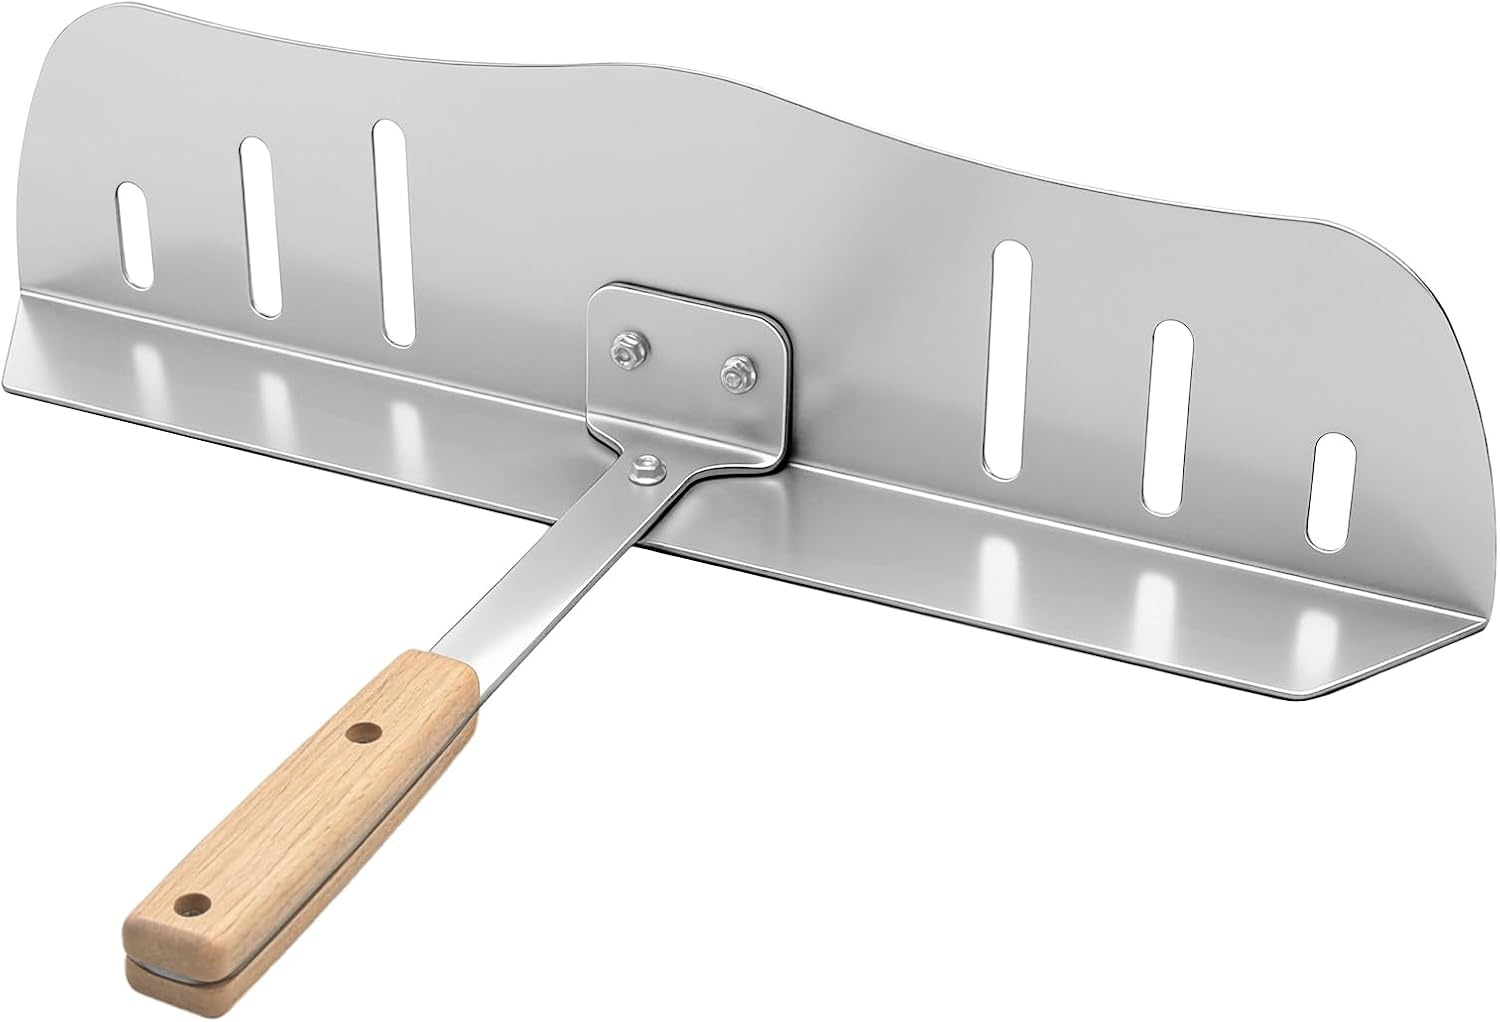
The heat control: 16" x 4" Stainless Steel Pizza Oven Baffle Door
 Visit on Amazon →
This is the least glamorous purchase in the setup and the one that changes the most. A baffle door rests across the oven mouth. This one is stainless steel, 16 inches by 4 inches, which means you measure your own oven's opening before you order. A door that does not seat against your mouth is just a metal rectangle.
What it does is simple. It blocks wind, it slows the heat pouring out of an open mouth, and it holds floor temp steady while you stretch, sauce, and top the next pie. On a cold night that is the difference between a floor that stays where you put it and a floor that sags badly between bakes. It also gives you somewhere to park a peel that is not the grass.
The caveat is the whole trick, so read it twice: wood needs air. You do not seal a live fire behind a solid door. Leave a gap, keep the chimney drawing, and pull the door off entirely before you launch. If the fire starts smoking and the flame drops, you have choked it. Open the door back up.
Flaws but not dealbreakers: It is a piece of steel, not a hinge, so it gets hot and it needs somewhere to go. Pick that spot before the night starts, not while your hands are full.
Anyone cooking in wind, cooking in cold weather, or cooking more than two pies in a row will feel this thing immediately.
The actual firing workflow
Now the part you came for. This works on any wood oven with a floor you can preheat, and it works better if you stop trying to rush it.
Step one: Site the oven. Wind is the enemy of a wood oven. Put the mouth where the prevailing wind will not blow straight into it. Keep clearance from siding, deck rails, and anything else that can catch. Level, stable, non-combustible underneath. Check your local rules for open flame on a deck or balcony before you light anything.
Step two: Burn it in. A new oven has oils and coatings on it. Follow the manufacturer's first-fire instructions, and do it with no food in the picture. This is not the night you cook for guests.
Step three: Pick your fuel. Seasoned hardwood, split small, roughly wrist-thick. Softwoods throw sparks and burn out fast. Kiln-dried hardwood is the predictable choice. Never burn construction scrap, treated lumber, or anything painted.
Step four: Build a small fire in the middle. Kindling first, then a bed of coals, then add splits gradually. A roaring fire in a cold oven shocks the floor, and the floor is the entire point of owning the thing. Let the oven come up to temperature over 20 to 30 minutes.
Step five: Read the floor, not the air. Dome temperature will lie to you. Point an infrared thermometer at the middle of the floor, right where the pie will land. That number is your number. For a fast bake you want a floor hot enough to color the base in roughly 60 to 90 seconds.
Step six: Plan for the sacrificial pie. The first one will stick, tear, or scorch. Make it a plain dough round with nothing on it. It tells you how the floor is behaving, and it seasons the floor for everything that comes after.
Step seven: Launch, then manage the fire. Push your coals to the side or the back so the pie lands on hot floor with no flame directly under it. Add a small split right before the next pie, not during a bake. Feeding the fire mid-pie is how you burn a rim.
Step eight: Rotate. Turn the pie a quarter turn every 15 to 20 seconds. If your oven runs hotter on one side, and most do, rotation is the only fix.
Step nine: Use the door between pies, not during them. Slide the baffle door across the mouth while you stretch and top the next round. That is when it earns its place: blocking wind, slowing heat loss, keeping the floor from sagging while your hands are busy. Leave a gap, keep the chimney drawing, and pull the door off before the next launch.
Step ten: Shut down properly. Let the oven cool on its own. Do not douse a hot floor with water. Brush the floor once it is cool, and cover the oven if rain is coming.
Three mistakes that cost you a pie
The dough is too wet for your hands. High hydration is wonderful on paper and a nightmare on a peel. If your dough sticks when you try to slide it off, it is not the peel's fault. Drop the hydration a few points until you can launch cleanly, then add it back over time.
The floor is not ready. If the pie takes four minutes to color, the floor is cold and you are now baking, not firing. Let it recover before the next one instead of pushing pies onto a cold stone and wondering why the bottom is pale.
The pie is overloaded. Sauce and cheese are water. Too much of either and you steam the middle of the pie while the rim burns. Less is not a style choice here, it is a heat management decision.
What this guide is not about
Gas ovens and indoor electric ovens are both real answers to real problems, and neither one is this article. Gas is for Tuesday, when nobody wants to light a fire at 7pm. Electric makes sense indoors for exactly the same reason. Wood is for the night you actually want to stand outside and tend something. Anyone who tells you one of those is objectively better has not cooked on both.
The accessory aisle is the other thing I am not covering. Half of what is sold as pizza gear is a solution to a problem you do not have yet. A peel and an infrared thermometer cover most of it, and the door in this guide covers the rest.
What this all costs
I am not going to quote prices here, because they move and this article would be wrong by the time you read it. Check current Amazon price on both pieces and you will see the shape of it: the oven is the real purchase, and the door is a small add-on that protects the money you just spent on the oven.
That is the honest math on a wood oven. The expensive part is the heat machine. The cheap part is the thing that keeps the heat in it, and skipping that part is how people end up convinced their oven cannot hold temperature when the real problem is an open mouth in a crosswind.
Do the first burn. Sacrifice the first pie. Read the floor with a thermometer instead of trusting the dome. Slide the door on between bakes and off before you launch. Do those four things and the second pie tells you what you actually bought.