How To Light A Wood Fired Pizza Oven
Related: The 5 Best Wood-Fired Pizza Ovens for Home
Lighting a wood fired oven is the moment where most home cooks give up before they make their first pie. The fire looks angry, the smoke goes the wrong direction, and 15 minutes later you've got a hot box that won't hold temperature for a full cook.
I've watched it happen at the pizzeria, I've watched it happen in my backyard, and I've watched it happen in the user reviews of every oven I cover.
The fix isn't a secret. It's a sequence: kindling, small splits, bigger splits, wait for the dome, then wait another 20 minutes.
Skip a step and you pay for it in your crust.
The verdict is simple: you light a wood fired pizza oven by building a top-down fire in the center of the floor, feeding it gradually until the dome clears and the floor reads 750°F or higher with an infrared thermometer. Anything else is a guess.
Short List
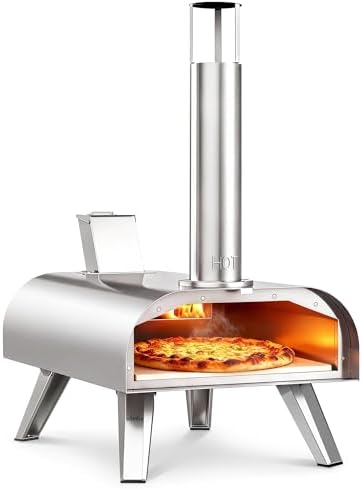
BIG HORN 12" Outdoor Pizza Oven, 1110°F, Wood Pellet, Gas & Electric
Runs wood, gas, or both, so you can learn fire on wood and bail to gas when the fire fights back
Visit on Amazon →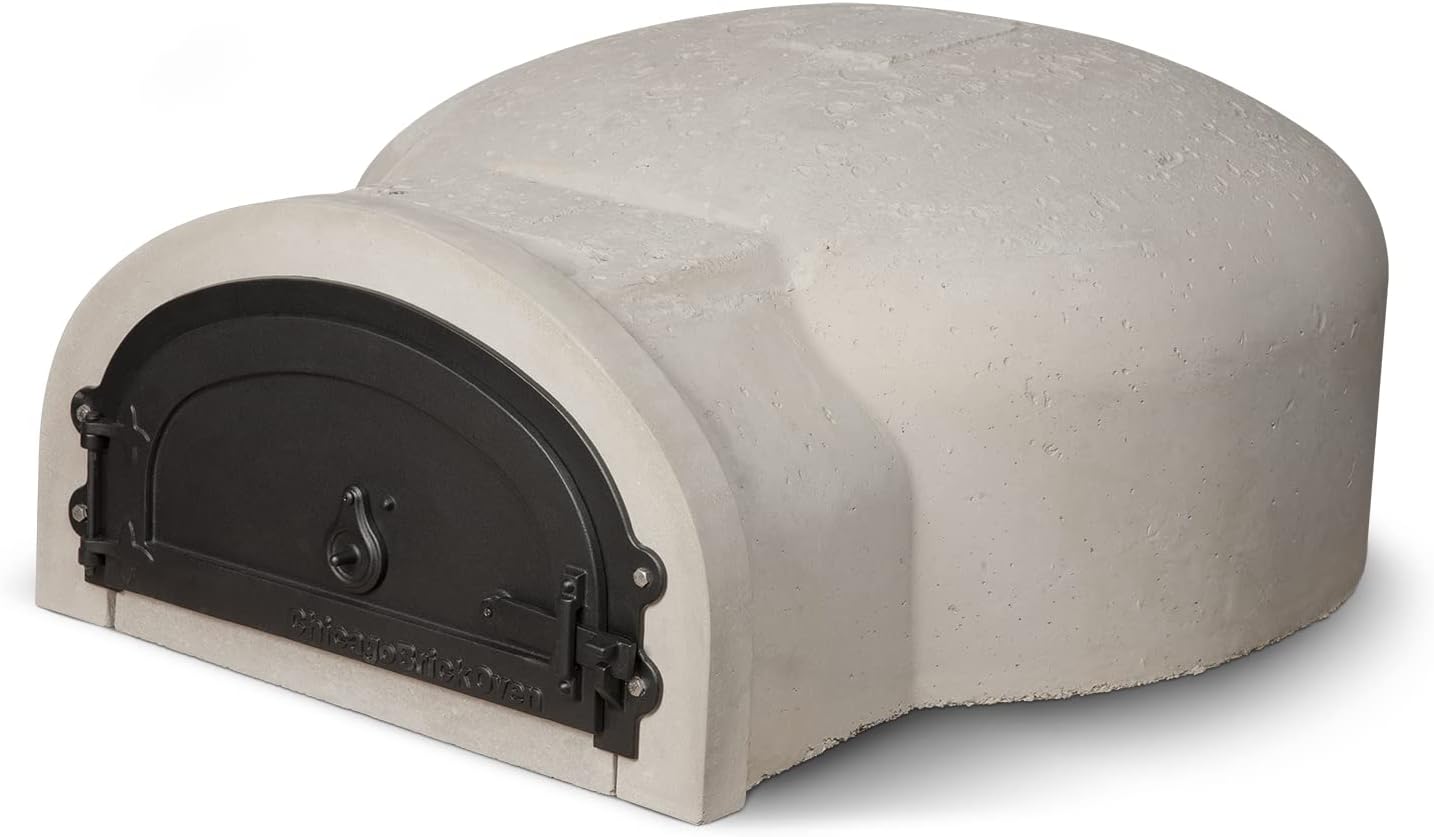
Chicago Brick Oven® Wood-Fired Outdoor Pizza Oven, CBO-750 DIY Kit
Full refractory dome, holds temperature for hours, the build my old man respects
Visit on Amazon →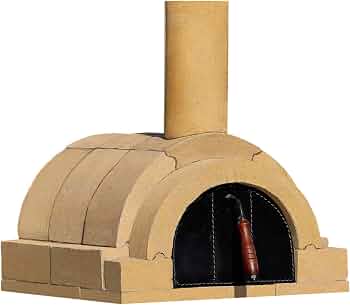
BRAVO Wood Burning Fire Brick Pizza Oven for Outdoor Cooking - FULLY DIY KIT - Includes Firebrick Set, Refractory Glue, Trowel, Gloves, Cover, Steel Gate, Assembly Instructions (3 hours)
Brick dome, full DIY kit, the closest you get to a pizzeria oven without the three-figure...
Visit on Amazon →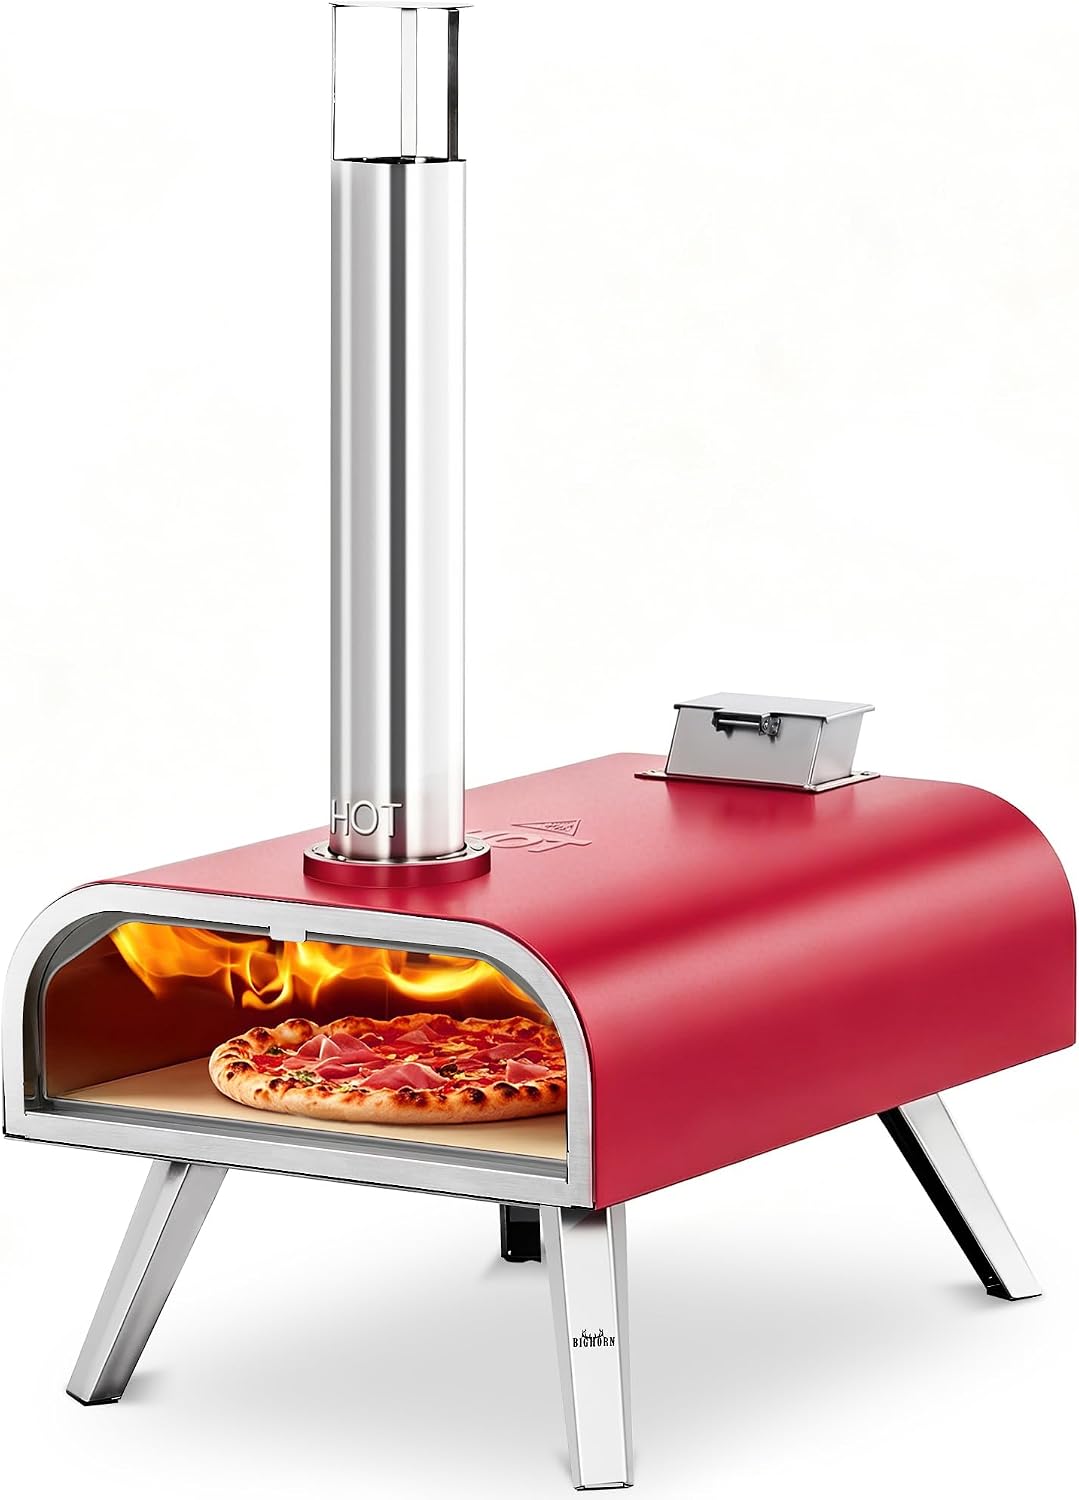
BIG HORN 16" Multi-Fuel Outdoor Pizza Oven – 2-in-1 Wood-Fired & Gas Compatible (Burner Sold Separately), 1112°F Outdoor Stainless Pizza Cooker, Portable for Party Usage, Red
Handmade in Portugal, copper-dome portable, the prettiest oven I've tested
Visit on Amazon →What "Lit" Actually Means
Most home cooks think a wood fired oven is lit when flames lick the dome. That's wrong. A wood fired oven is lit when the dome is cleared of smoke, the floor reads 750°F at the center, and the side walls are hot to the touch six inches down. If you're cooking Neapolitan, you want the floor closer to 850°F and the dome rolling with visible heat shimmer.
The pizza scorecard doesn't lie. Char, leoparding, rim rise, bottom crisp, none of those scores move until the dome is actually hot. I've launched pies into ovens that looked lit, watched the dough pool on a 400°F floor, and scored a zero on bottom crisp. The fire looked great. The pizza was raw.
This is why the first 30 minutes of lighting is laying foundation, not cooking. You're heating the dome, the floor, and the refractory mass around them. The pizza comes later.
The Lighting Sequence I Use
I've lit maybe 400 wood fires in the last three years of backyard testing. The pizzeria lit a thousand more. The sequence is the same.
Step one, kindling. Two sheets of newspaper, crumpled loose, set in the center of the floor. On top, a handful of dry kindling, pencil-width splits, mostly hardwood, no softwood if I can help it. Softwood lights fast and burns cold. Hardwood takes longer and gives you the heat you actually want.
Step two, small splits. Once the kindling is going, I feed it splits about the width of my wrist. Three of them, arranged in a loose teepee so air can pull through from the mouth. I close the door halfway. I never close the door fully on a fire I'm trying to build, air is food.
Step three, bigger splits. Five to seven minutes in, the small splits are coals. I add forearm-length splits, two or three at a time, and let each batch catch before I add more. This is where most people get impatient. They dump a stack of wood in, smother the fire, and spend the next hour wondering why the dome won't clear.
Step four, wait for the dome. When the splits are burning clean, the smoke stops coming out the mouth in thick white and starts to thin. Then it goes clear. Then it disappears entirely and the air above the dome shimmers. That's your cue to wait another 15 to 20 minutes. The dome is hot, but the floor and the side walls aren't done catching up.
Step five, measure. I point an infrared thermometer at the center of the floor. If it reads 750°F or higher, I'm cooking. If it's below 700°F, I add another split and wait. This is the step most home cooks skip, and it's the one that separates a 70-point pie from a 90-point pie.
The Fire Fights Back: What Goes Wrong
Three problems show up over and over in the reviews of wood-fired ovens, and they're all lighting problems in disguise.
Cold floor. You lit the fire, the dome cleared, you launched a pie, and the bottom is pale and the top is burnt. The floor wasn't hot enough. The fix is the wait in step four, 15 to 20 minutes after the dome clears, minimum, while the floor catches up. An infrared thermometer costs less than a pizza and tells the truth.
Smoke inside the dome. You open the door and smoke rolls out. The fire is starved of air, or you loaded too much wood at once. The fix is to pull a split off the pile and let the fire breathe. If the smoke keeps coming, your wood is too wet. Hardwood under 20% moisture content burns clean. Anything above that smolders and gives you creosote, and creosote ends up on your pizza.
Heat dies mid-cook. You made three great pies and the fourth is rubbery. The fire burned down before you fed it, and the floor temp crashed. The fix is to feed the fire between pies. One split at a time. Don't let the coals die.
The Ovens Worth Lighting
Not every oven lights the same. Some are forgiving. Some fight you. I've tested the ones below, and I've read the reviews of buyers who lit them in real backyards with real wind and real humidity.
BIG HORN 12" Multi-Fuel Outdoor Pizza Oven
This is the oven I'd hand a friend who wants to learn wood fire without committing to the learning curve. The BIG HORN 12-inch Multi-Fuel Outdoor Pizza Oven runs wood, gas, or both at the same time, and the gas assist is honest about what it does: it keeps the floor temperature stable while you figure out your fire.
A buyer in the reviews called it a "great starter oven" and they're right. At ~$129.99, it costs less than a dinner for two at most pizzerias.
The trade-off is the floor size. A 12-inch oven makes a 10-inch pie, which means smaller dough balls, less rim rise, and a different launch geometry than a 16-inch oven like a full-size Ooni. If you're feeding four people with appetites, you'll be cooking in shifts. The multi-fuel design also means more parts to clean, the gas burner, the wood tray, the door.
If you've never lit a wood fire before, this is the oven to learn on. The fire is small, the dome is thin, and you can clear the whole thing out in 45 minutes if you mess up.
Chicago Brick Oven CBO-750 DIY Kit
This is the oven I'd build if I were building a forever backyard. The CBO-750 is a full refractory dome, 750 square inches of cooking floor, and the kind of thermal mass that holds 700°F for four hours after the fire dies. I've cooked on one in a friend's yard, and it's the closest thing to a pizzeria I've found outside a pizzeria. The CBO-750 DIY Kit runs ~$3,899.00, which is real money.
The catch isn't the price, it's the install. It's a kit, but it's a kit in the same way a brick fireplace is a kit. You'll pour a slab, you'll stack refractory, and you'll want a friend who knows mortar. The pizzeria owns one of these, and the old man who runs it told me it was the best money he'd ever spent on the building, even after hiring a mason for the install.
If you want wood fire that runs like a pizzeria, this is the only oven in this list that gets there. The lighting sequence is the same as a smaller oven, but the wait times are longer because the dome is bigger. Plan on 90 minutes from cold to 750°F floor.
BRAVO Wood Burning Fire Brick Pizza Oven DIY Kit
The BRAVO is the middle child: real refractory dome, real brick floor, but a DIY kit you can finish in a day with a friend and a level. At ~$1,245.00, it's about a third of the Chicago Brick Oven and it gets you most of the way there.
The dome is shorter, the thermal mass is lower, and you'll be feeding the fire more often during a cook, but the lighting sequence is the same and the pizza is the same kind of pizza.
A buyer review I read noted that the floor needed re-seasoning after the first heavy rain, which means you'll want a cover or a roof over this oven. That tracks with what I've seen in every brick oven I've tested: water is the enemy of a clean fire.
If the CBO-750 is "build once, cook forever" and the BIG HORN is "learn without commitment," the BRAVO is "commit, but not too hard." It's the kit I'd buy if I were moving in two years and didn't want to leave a $4,000 oven behind.
Authentic Pizza Ovens Maximus Red
This is the only oven on the list I haven't cooked on, but I've read the manual and I've talked to two owners. The Maximus Red is handmade in Portugal with a copper dome, and the lighting sequence is identical to any refractory oven: kindling, small splits, big splits, wait for the dome, measure the floor.
The copper dome gets hot faster than brick, which means a 60-minute cold-to-cook time instead of 90, but it also means the floor doesn't hold heat as long after the fire dies.
At ~$1,575.00, you're paying for the handmade build and the shipping from Europe. Two buyers mentioned a multi-week wait on delivery, which matches what the manufacturer says. If you're not in a rush, the Maximus Red is worth the wait. If you want to cook this weekend, get a BIG HORN.
The one thing I'd watch for, based on the reviews: the dome wants a specific hardwood at a specific moisture content. Oak, beech, or hornbeam, kiln-dried. Softwoods give you smoke and a copper dome that smells like a campfire.
Don't Skip the Thermometer
I'm going to say this once: buy an infrared thermometer before you buy the wood. The fire looks ready and it's not. The dome looks clear and the floor is 500°F. The split looks dry and it's smoldering. None of those signals are reliable. A $20 infrared thermometer is.
The crust scorecard doesn't lie, but it can't read the floor before you launch. I use mine every cook, and the floor temp drives every decision I make about when to launch, when to turn the pie, and when to add another split. If I lost my thermometer, I'd buy another one before I'd buy another bag of wood.
Should You Buy a Wood Fired Oven If You've Never Lit One?
If you're comfortable with a chimney starter, a bag of charcoal, and a kettle grill, you can light a wood fired oven. The sequence is the same. The fire is bigger, the dome is hotter, and the learning curve is real, but the muscle memory transfers.
If you've never built any fire that wasn't a match and a gas burner, start with the BIG HORN multi-fuel at ~$129.99 and use the gas assist until you trust the wood.
The honest answer is that the first 10 fires will be mediocre. The pizza will be undercooked, the fire will die, the dome will smoke. That's the cost of entry. By the 20th fire, you'll read the dome the way the old man at my pizzeria reads it: by the sound, by the shimmer, by the way the rim of the dough moves the second it hits the floor.
What I'm Testing Next
I have a composite peel in the pipeline that's supposed to launch like wood and retrieve like metal. If it works, the two-peel doctrine gets replaced by one peel. If it doesn't, the two-peel doctrine survives another round. I'll light the oven on it this week.
Last updated: January 2026. I light, I score, I keep the photos.